Do you have fifty bucks and a few hours?

Try a gallery wall with bold, painted mats.
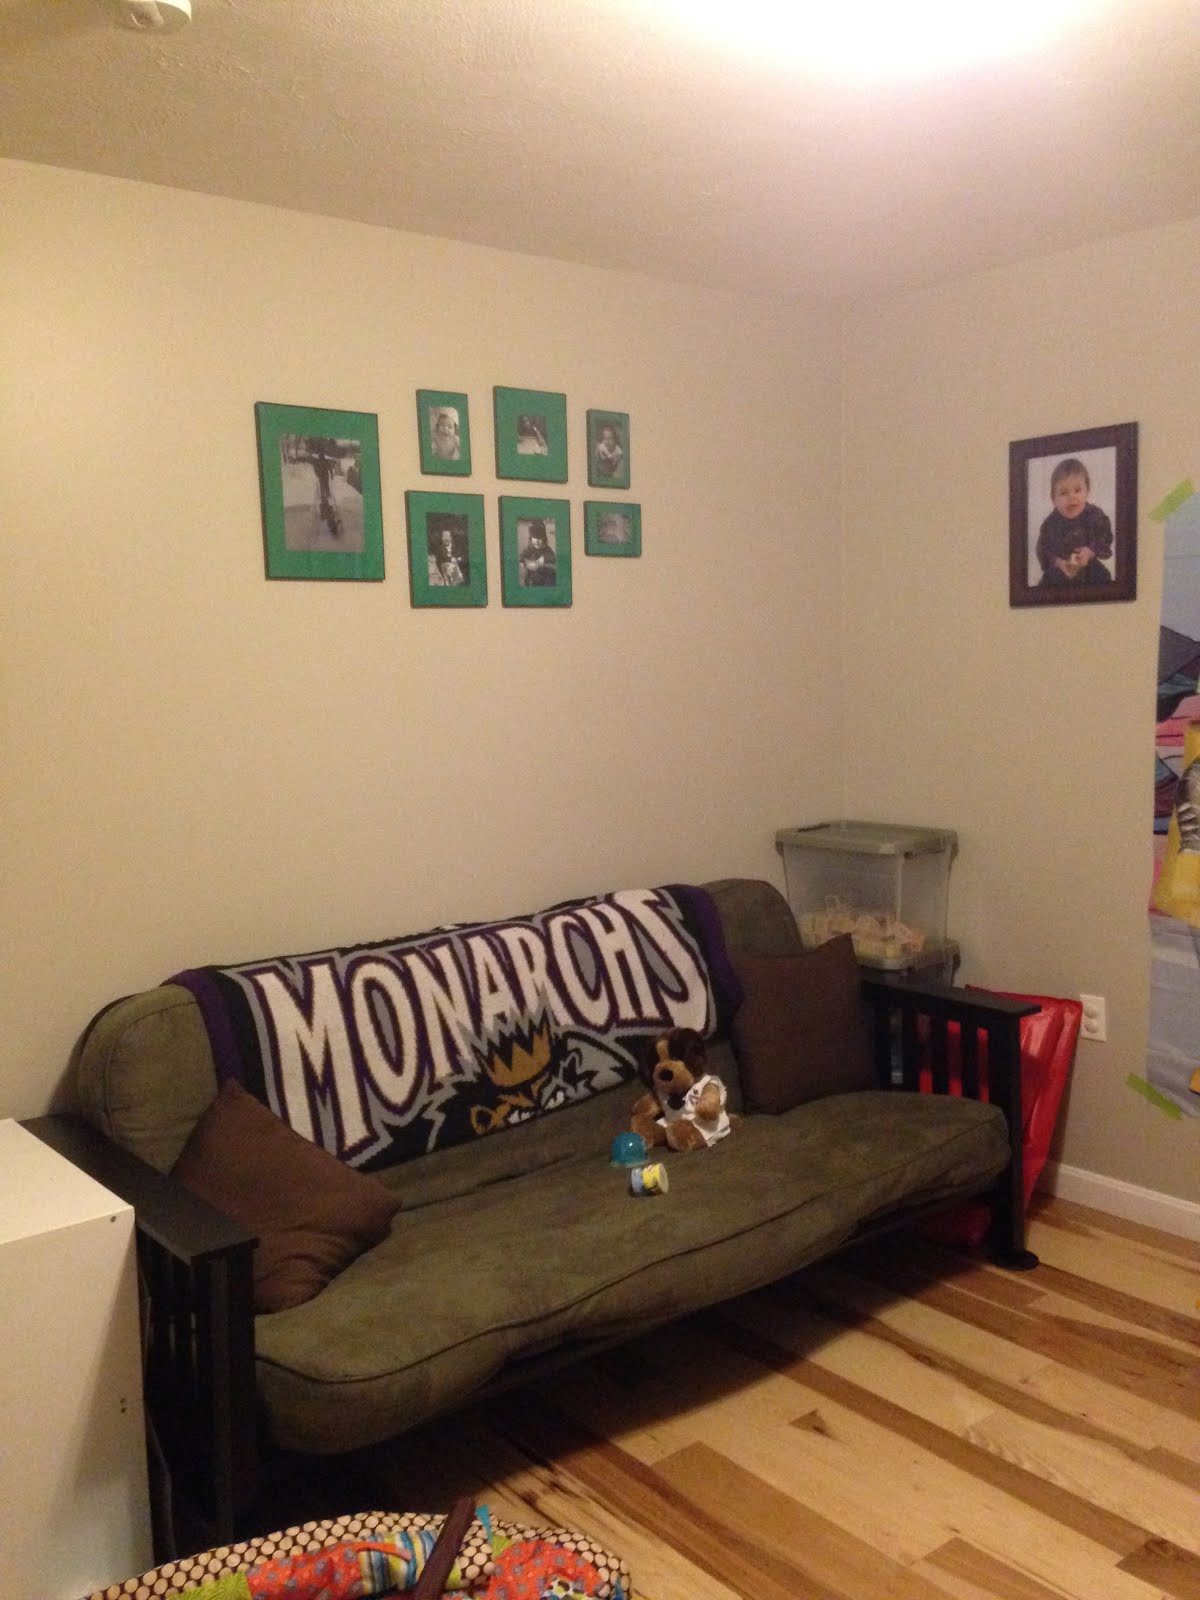
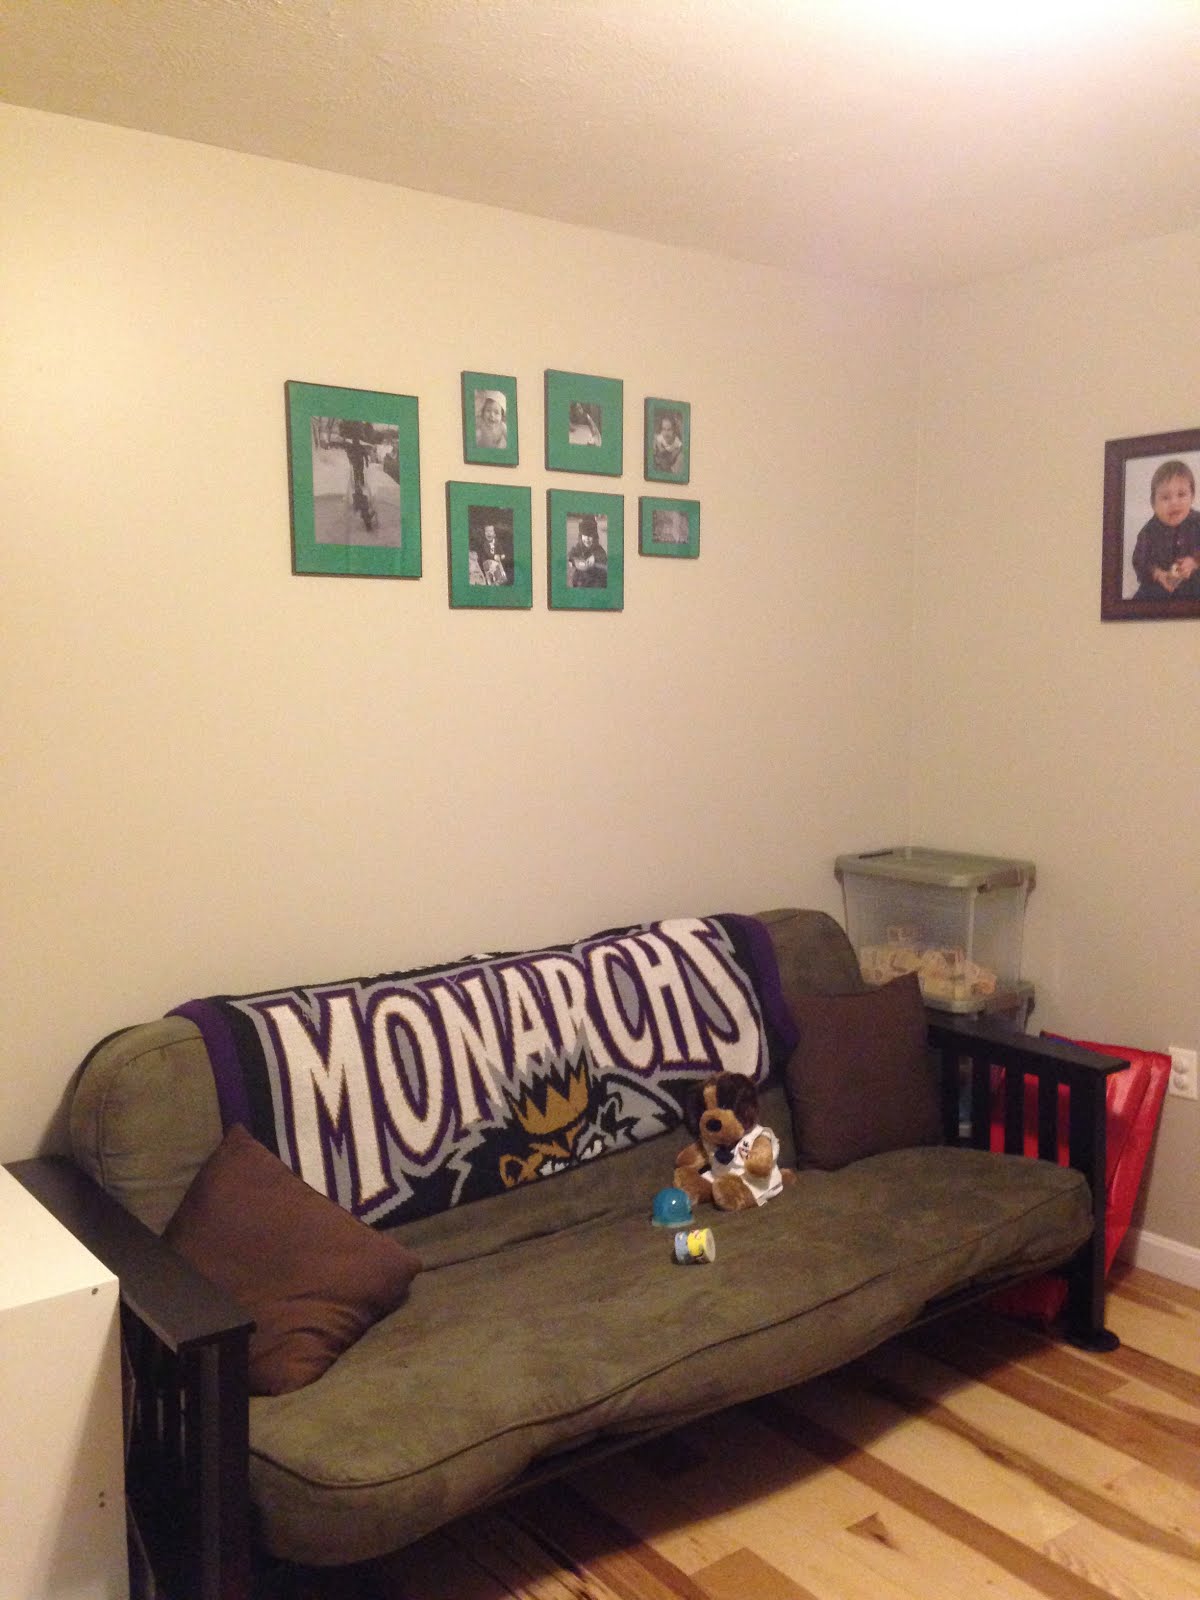
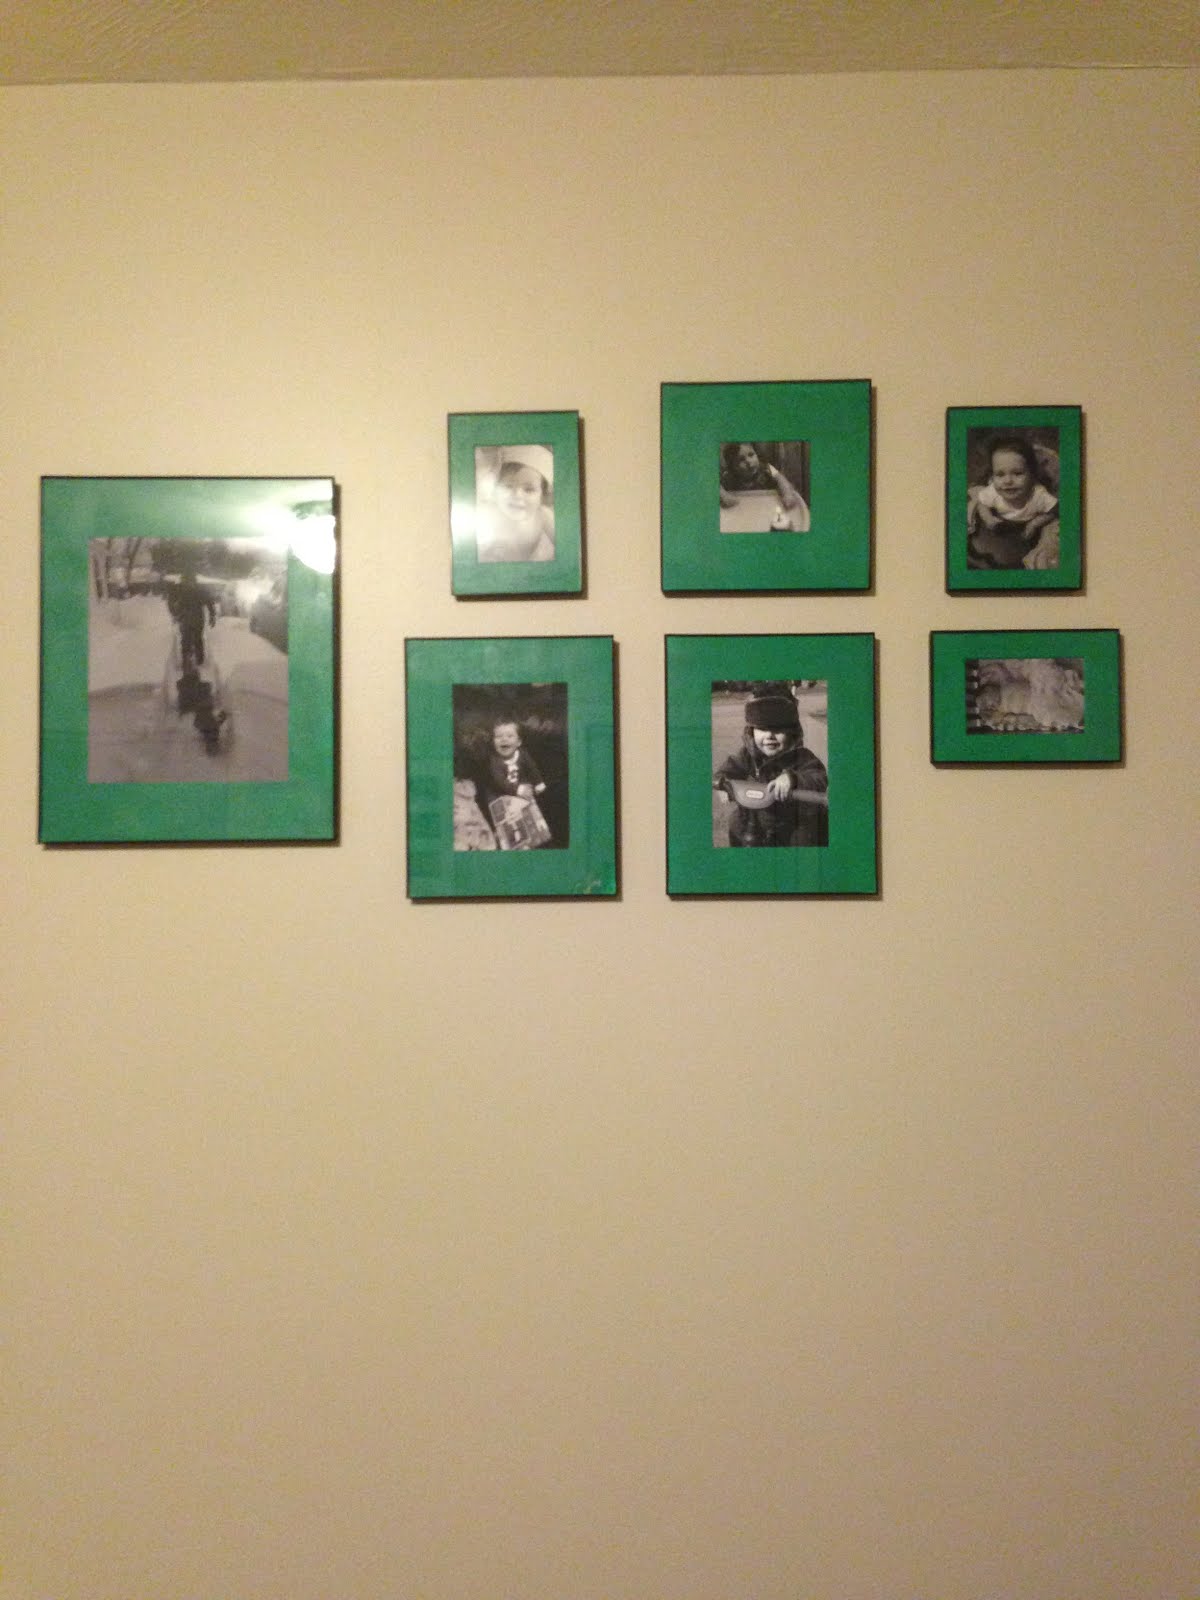
I used this idea in my sons’ playroom. At 39 weeks pregnant, I felt a nesting urge kicking in, but was already done setting up everything baby. I had been wanting to do a photo gallery wall in the playroom for a while, but wanted to keep it informal and fun, yet still stylish.


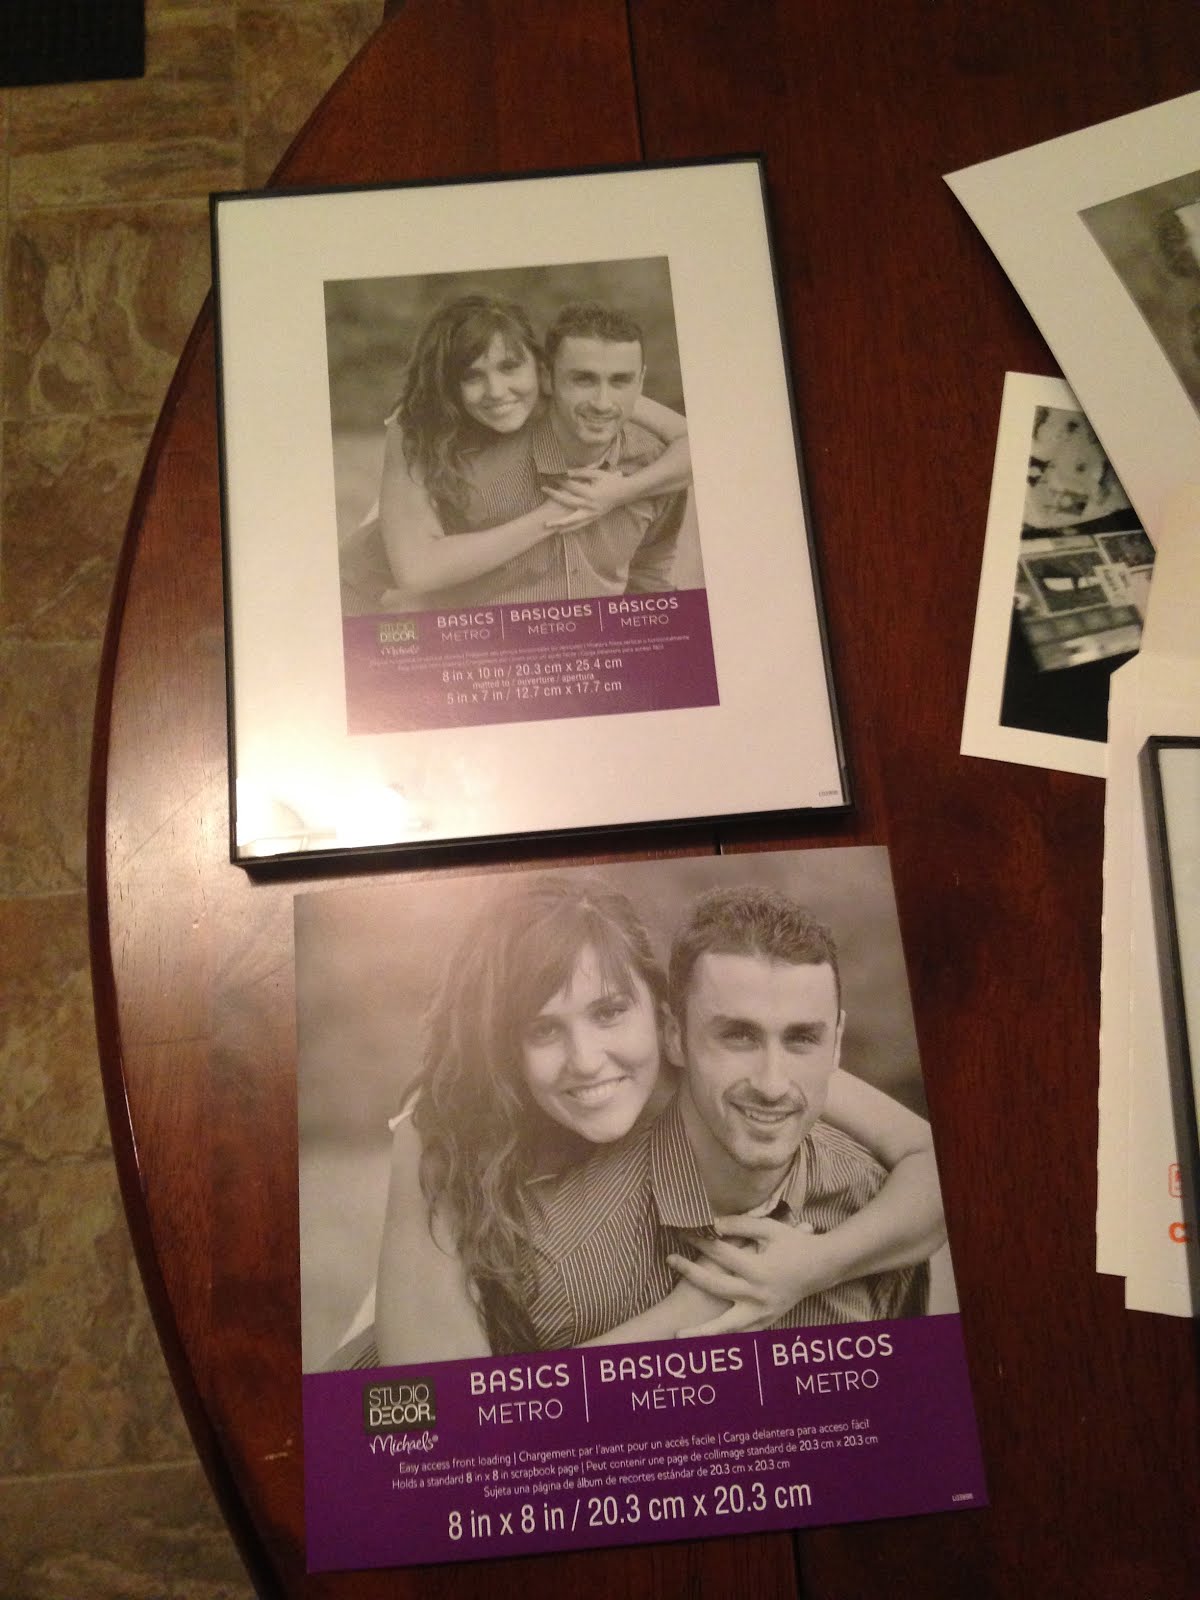
I had pinned an image of photo arrangements and decided to go with “close knit.” I knew I wanted to use black frames with mats, but I wanted to try something a little bit different. There are so many differents colors in the playroom. It’s the most cluttered room in the house, so I decided to keep the photo gallery a little more monochromatic with black and white photos. Our gray walls would have been a very boring backdrop for black frames, white mats, and black and white photos, so a little pop of color was neede.d. I painted the mats with jungle green paint, and ordered the black and white prints at CVS.com to be picked up at my neighborhood store. All photos were from my iphoto library, so they were inexpensive to print. This and front loader frames make it very easy to swap out pictures--perfect since we have a baby due any day now.
Supplies Needed
- Frames with mats
- For my gallery I used thin black frames that were light, easy to hang, and relatively inexpensive. I needed 1 11x14, 2 8x10, 3 5x7, and 1 8x8. Some of the mats came with the frames and others I had to buy.
- Black and White Photos
-Once I purchased the frames and mats, I knew what size pictures I would need, so I ordered black and white prints from my iphoto library. Total cost of the prints only came to eight dollars and change. I ordered 1 8x10 photo, 2 5x7 photos, and 4 4x6 photos knowing one of the 4x6 prints would be cropped to 4x4.
- Paint brush/roller
- I used a paintbrush for the first coat, and a small foam roller for a top coat without brush strokes.
- Acrylic Paint (1 small tube)
- I used Folk Art acrylic paint in Turf. I bought two small tubes, but only ended up using one. I found the best application method is to squeeze the paint right on to the mats and spread with a brush/roller.
- Painter’s Tape (optional)
- I used painter’s tape for two parts of this project, but it’s not completely necessary. I used it to help line up my photos when hanging them, and again to secure photos to the mats. The painter’s tape will not damage the mats when removed like scotch tape would. This makes it a lot easier to switch out photos.
Tip for Hanging….
For the close knit arrangement, I hung the 11x14 photo first. I then created a straight line with painter’s tape and a level to use as my mid-line for hanging the smaller pictures.

No comments:
Post a Comment