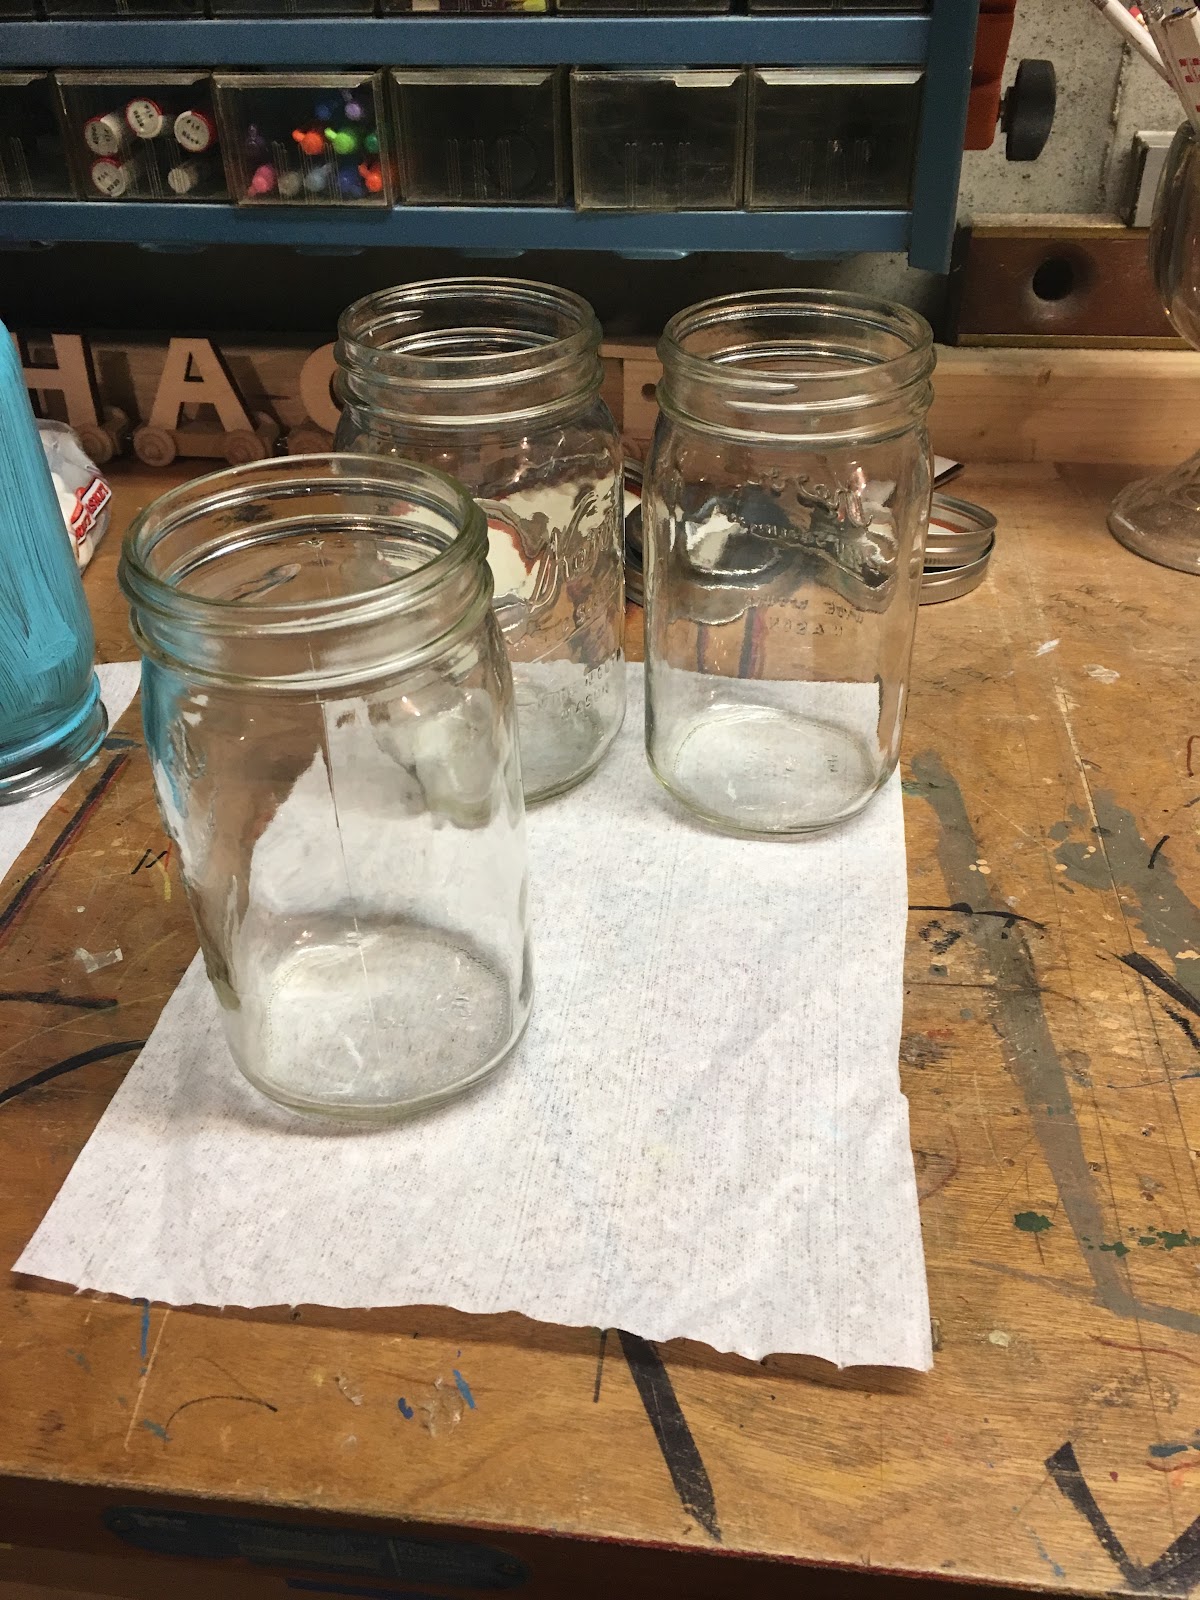
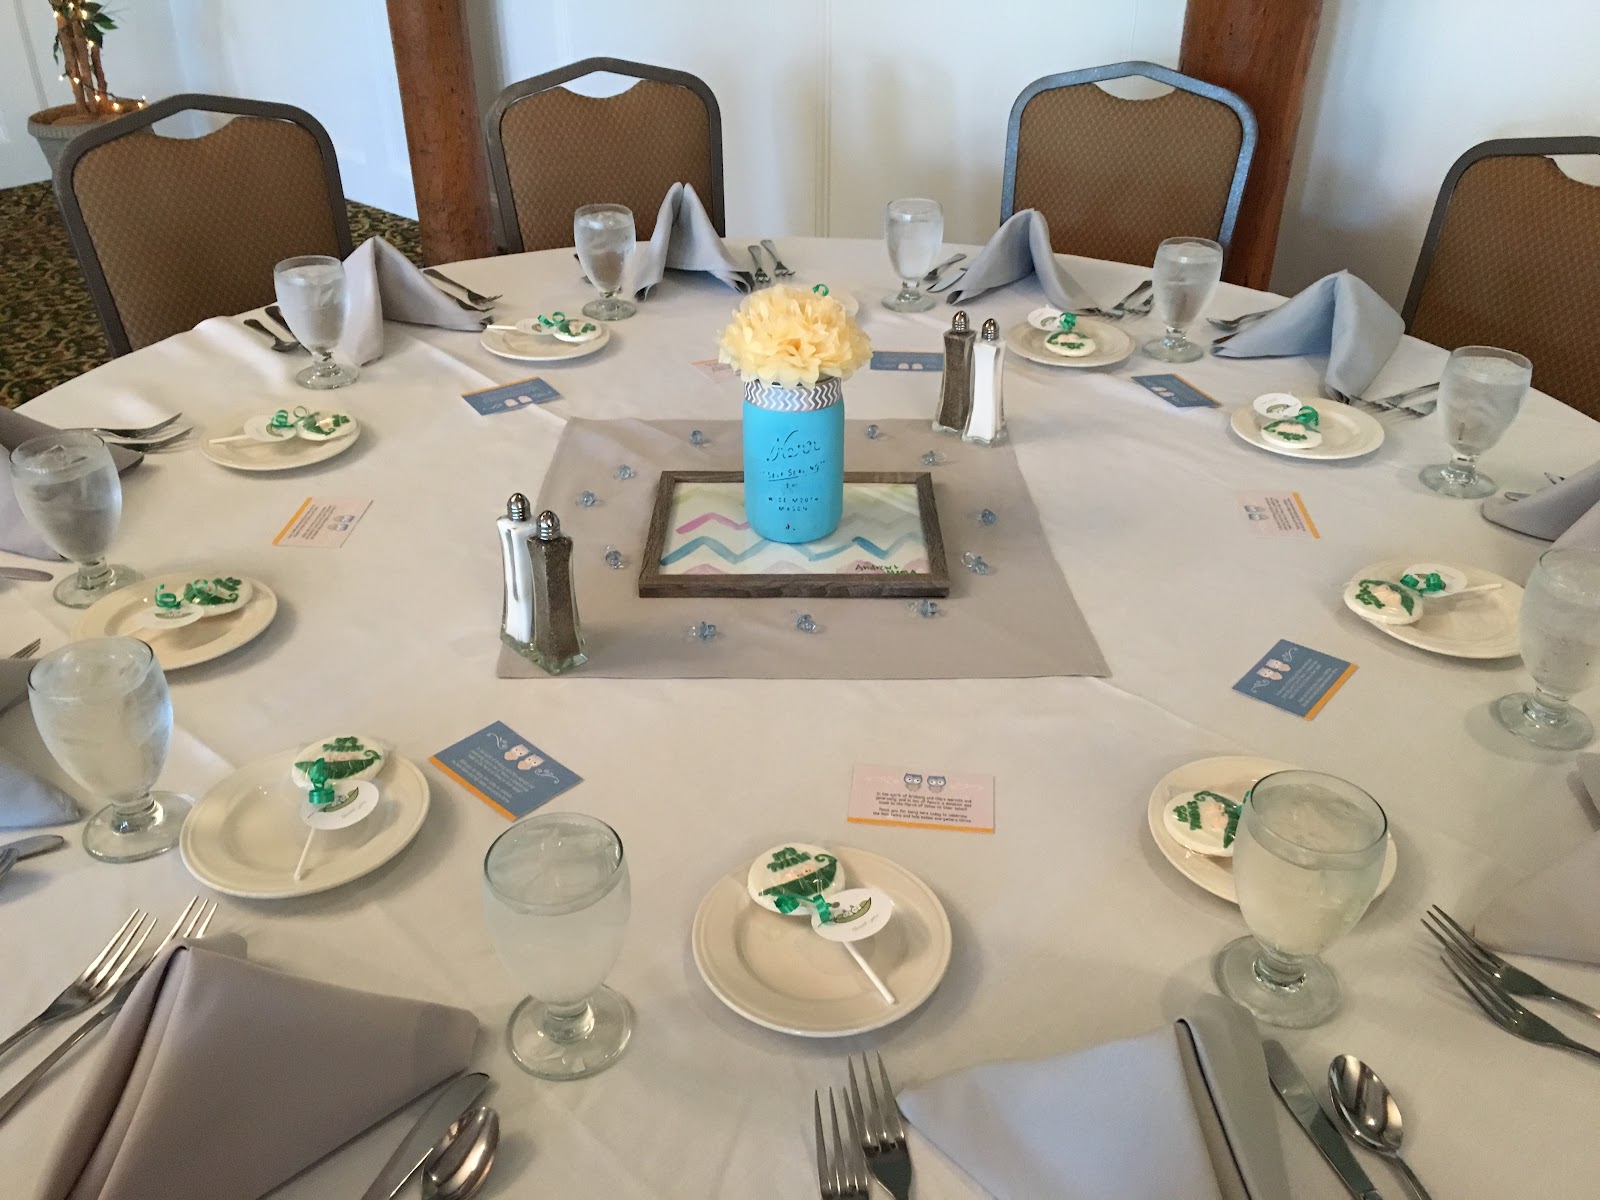
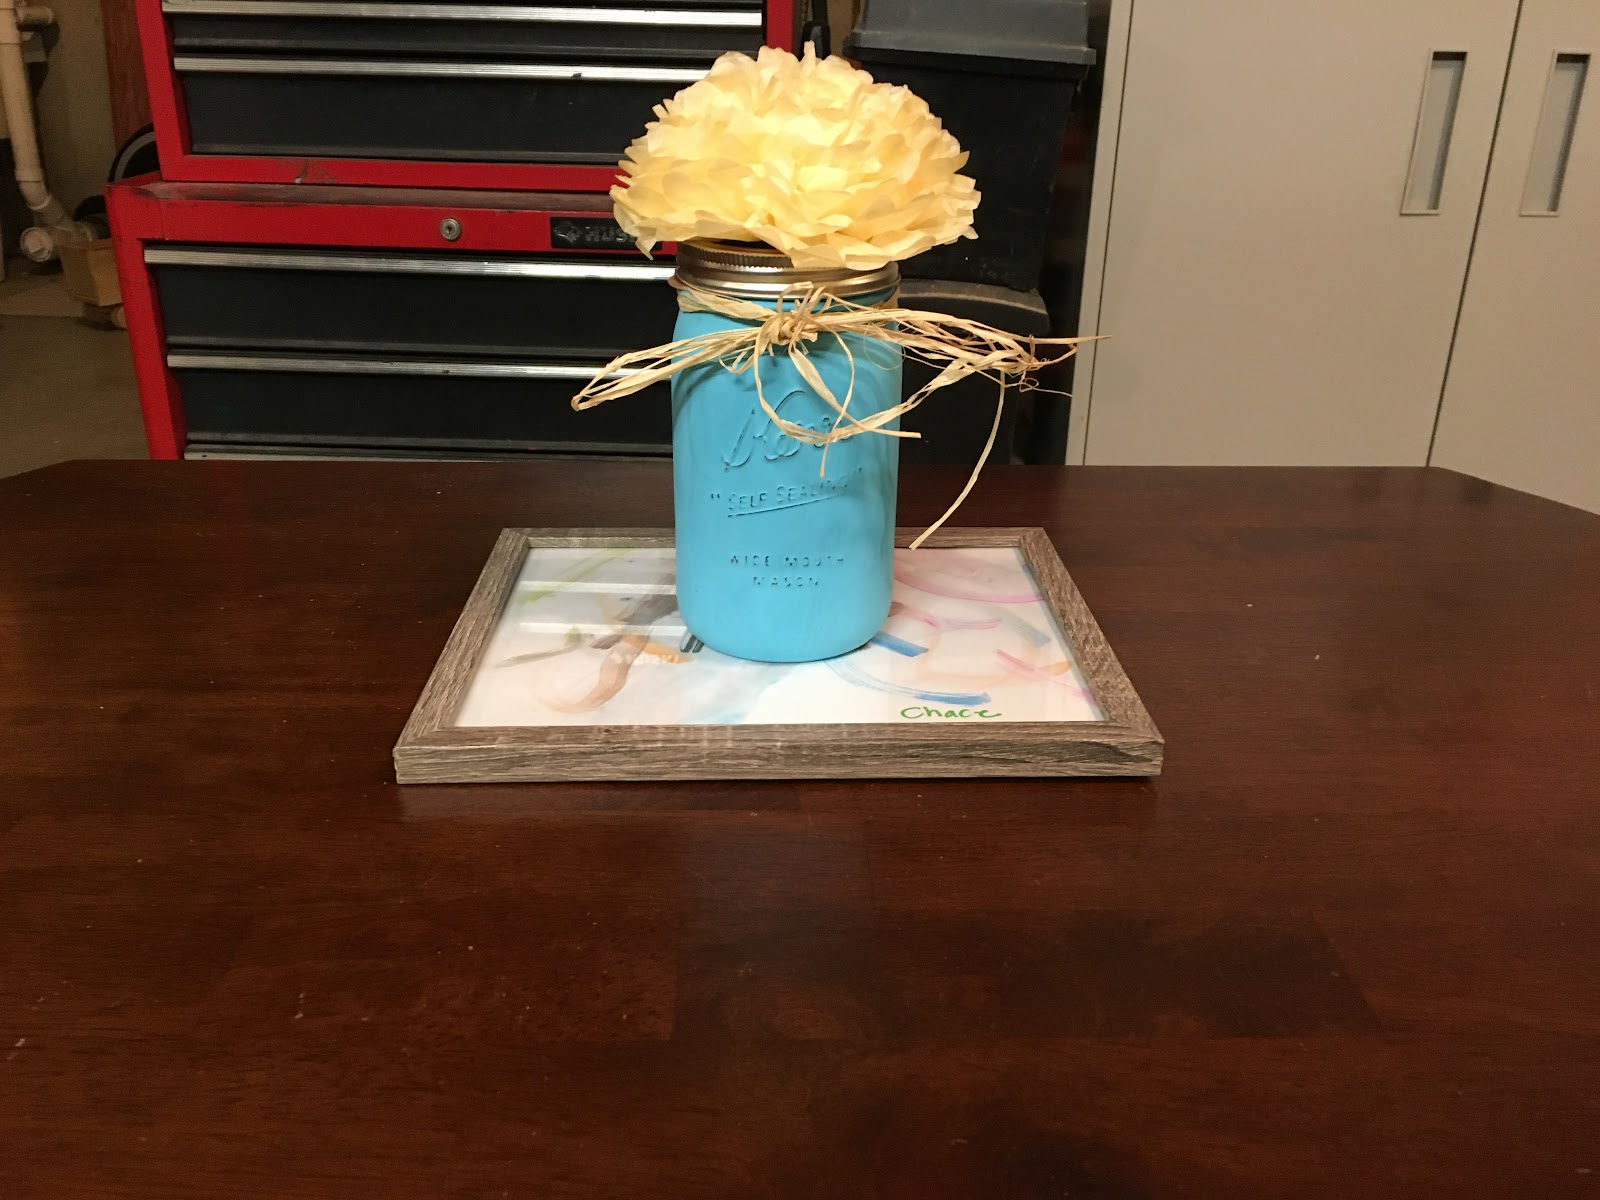
I just love the look of painted mason jars, which I recently experimented with for my sister-in-law’s baby shower. They are fairly easy to pull off as well.
 |
| My inspiration. See link. |
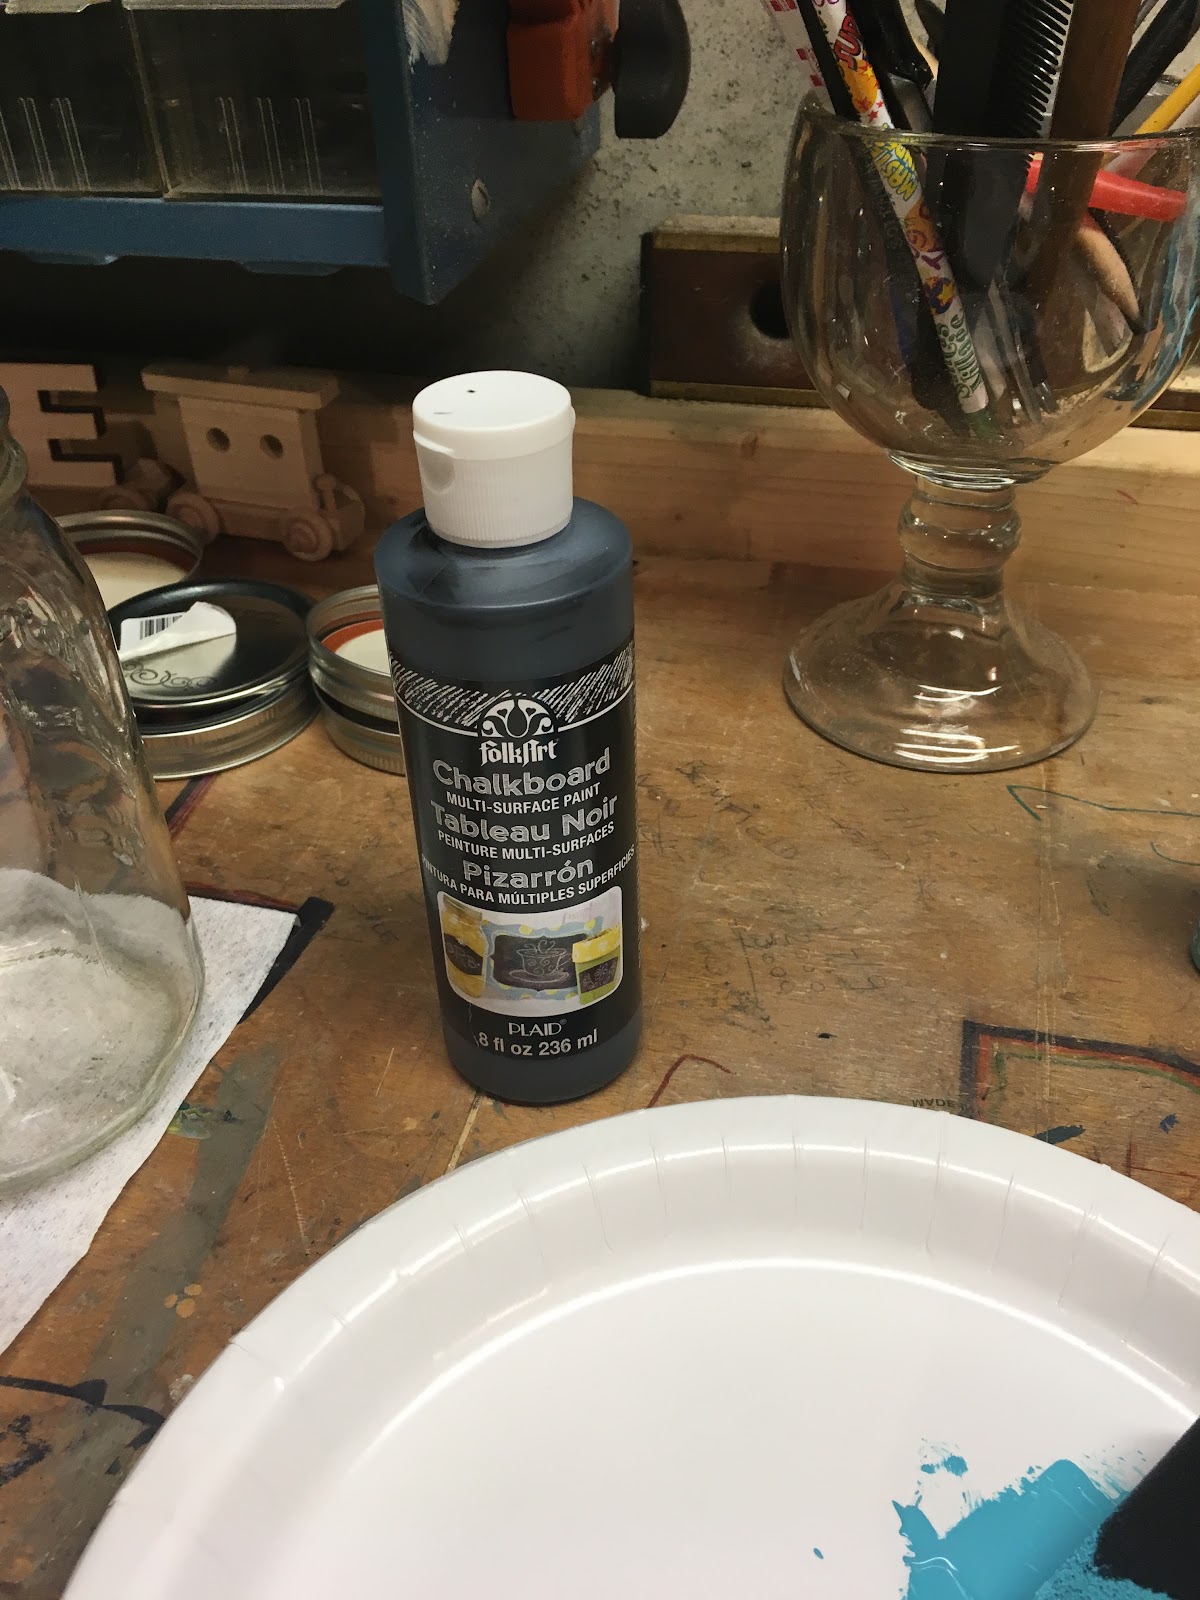
Materials- paint brushes (bristle or foam; I used foam), chalkboard paint, finish paint, sandpaper
- Start by covering the jar with a coat of chalkboard paint. This acts like a primer and also adds to the rustic look when the final product is distressed.
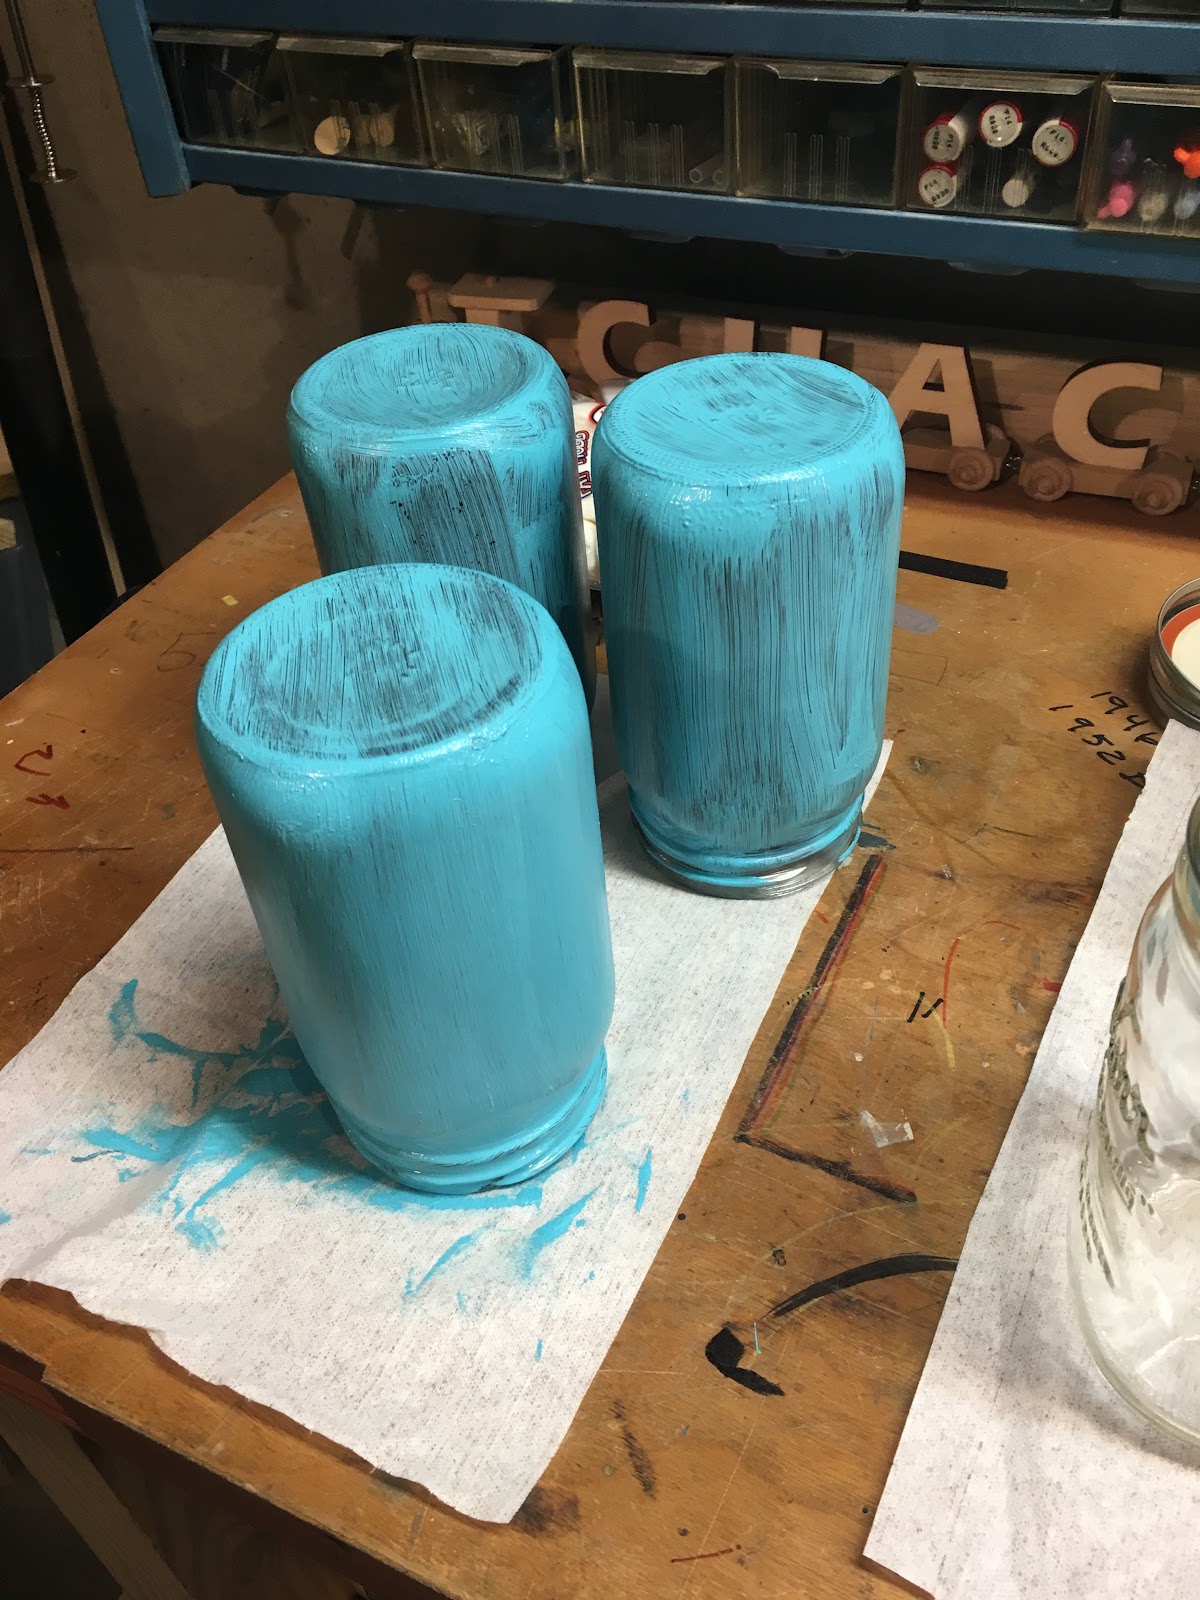
- Turn the jar upside down and cover with thin, even coats of paint, allowing plenty of time to dry in between. Plan on about 3 coats of paint. Wait until the final coat is complete to paint the bottoms of the jars. This will allow you to use this surface area to rotate the jar.
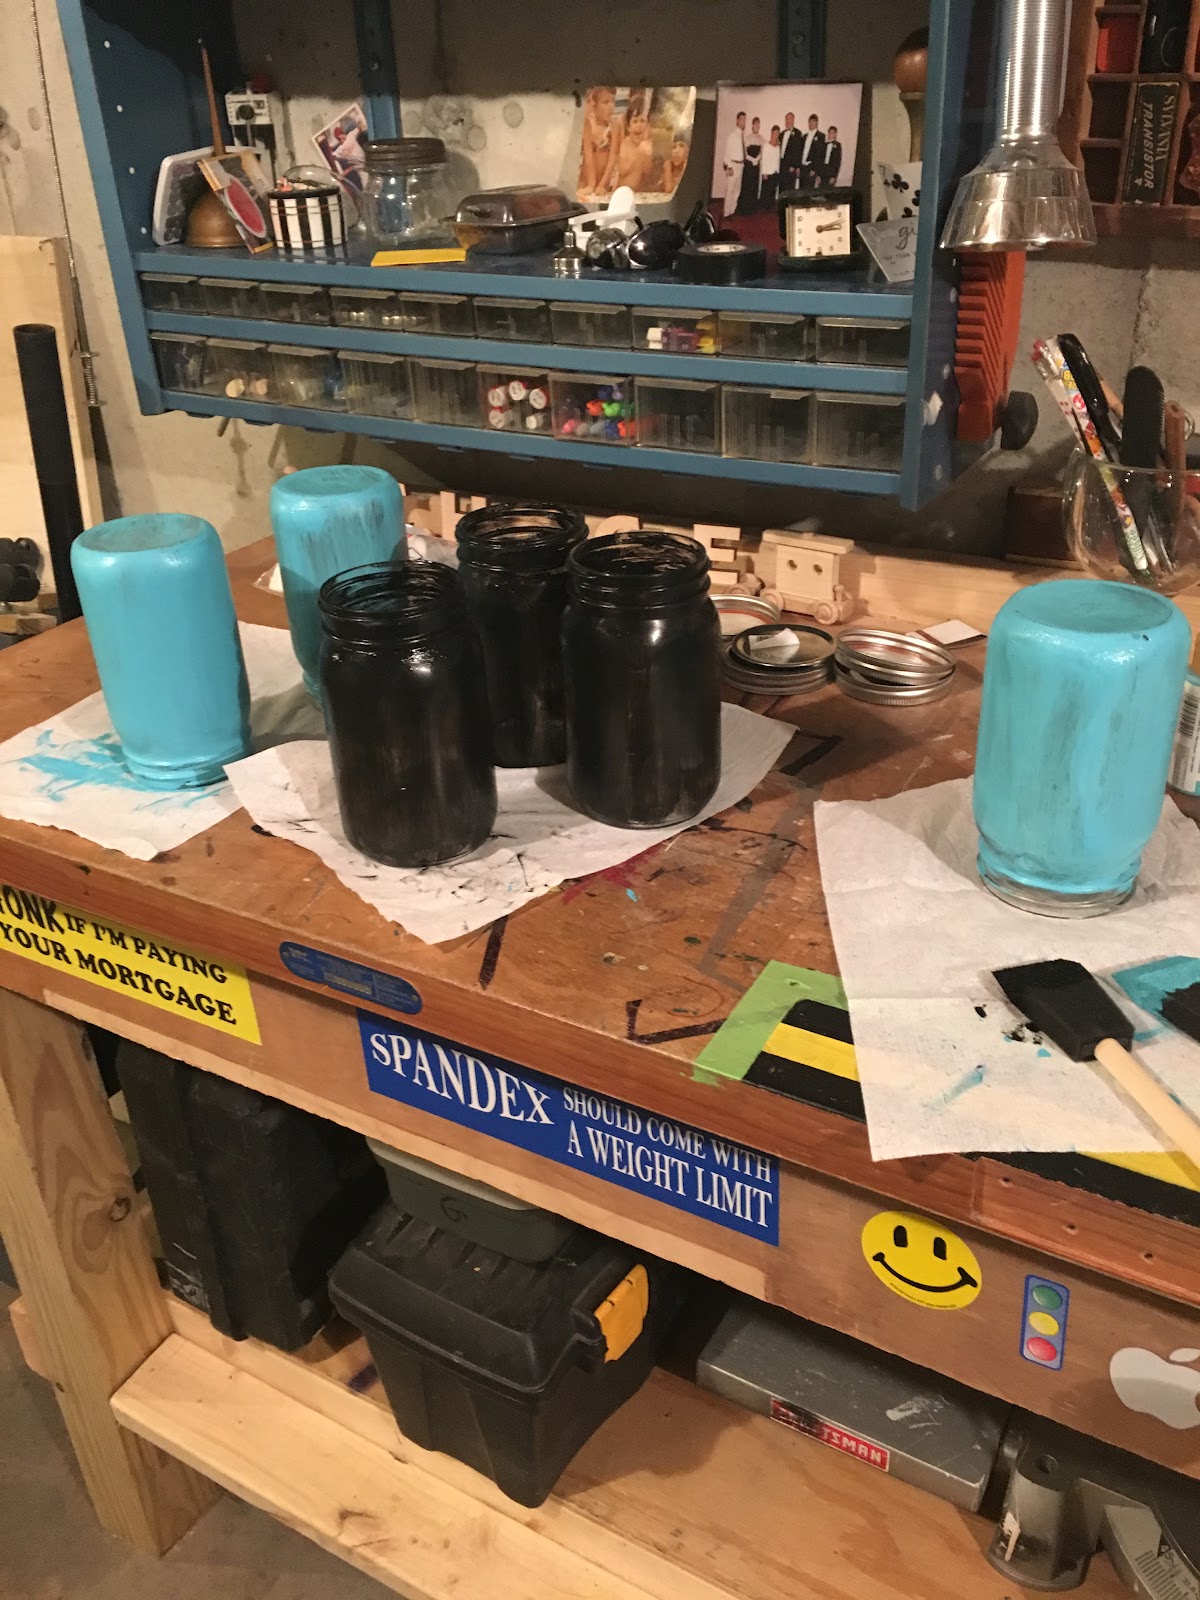
- When all coats of paint are completely dry, use sandpaper to rough up the finish to your desired level of rustic-ness. I used it to go over the lettering, which created a rustic-light look.
- Embellish as desired.
No comments:
Post a Comment