
I saw this coffee table sitting outside with my neighbor’s trash. I was not at all attracted to the look of the piece, but I noticed it seemed really solid and sturdy. I had also been wanting to attempt an upholstered table of some sort and thought the quality frame and simple, rectangular shape would be manageable for a first-timer. I mentioned the idea to Dave, and he told me that if I really thought the table had potential, I should go grab it. I do not think he realized how heavy it was, because I carried it on my head from two houses up, and I was shaking the whole way.
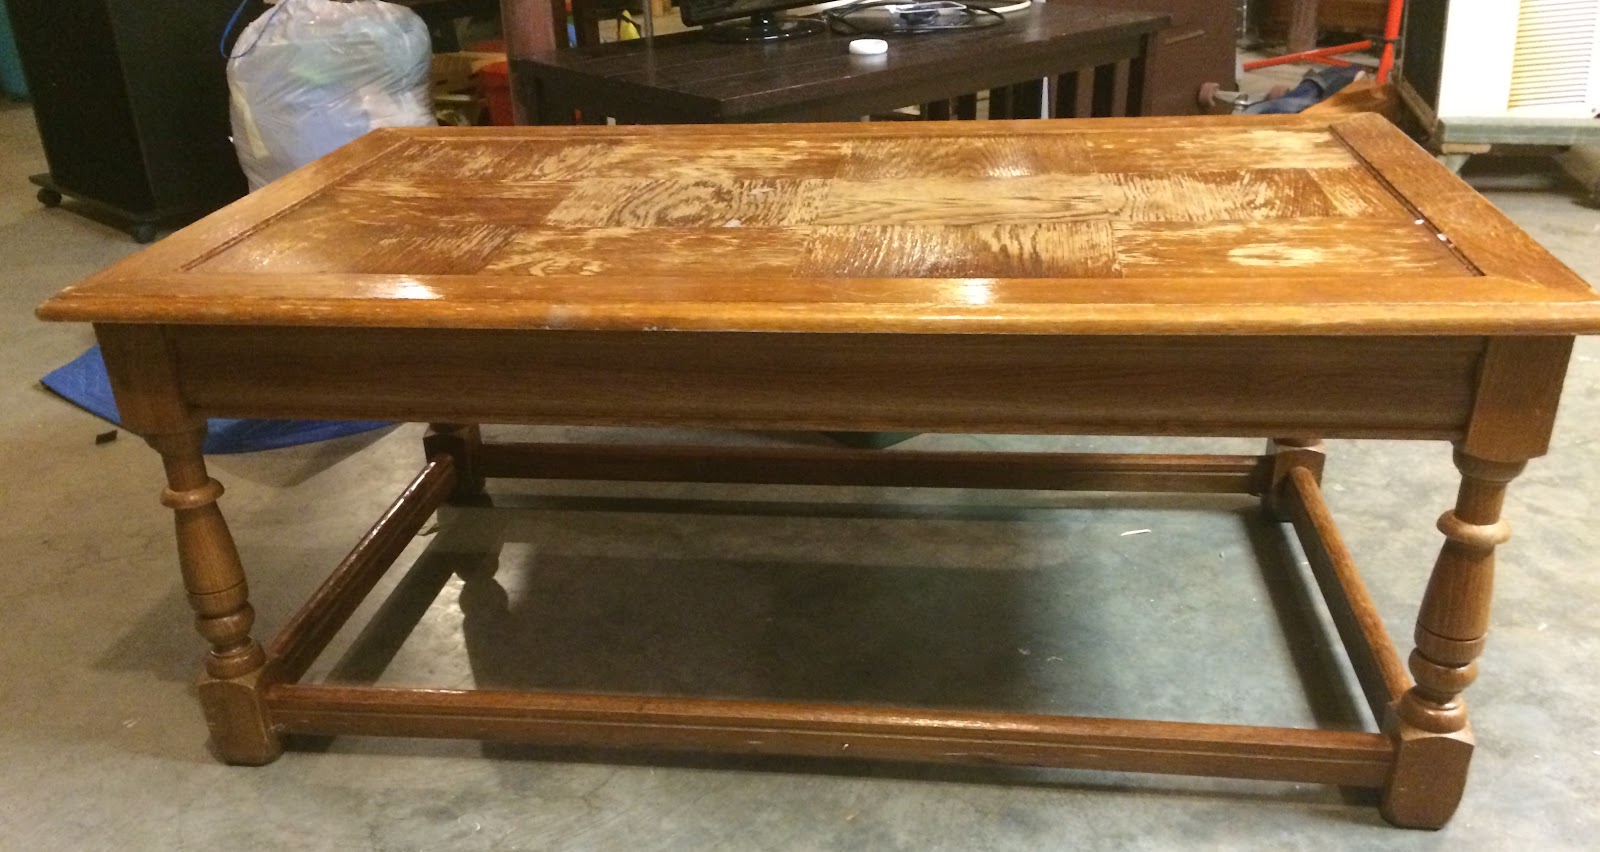

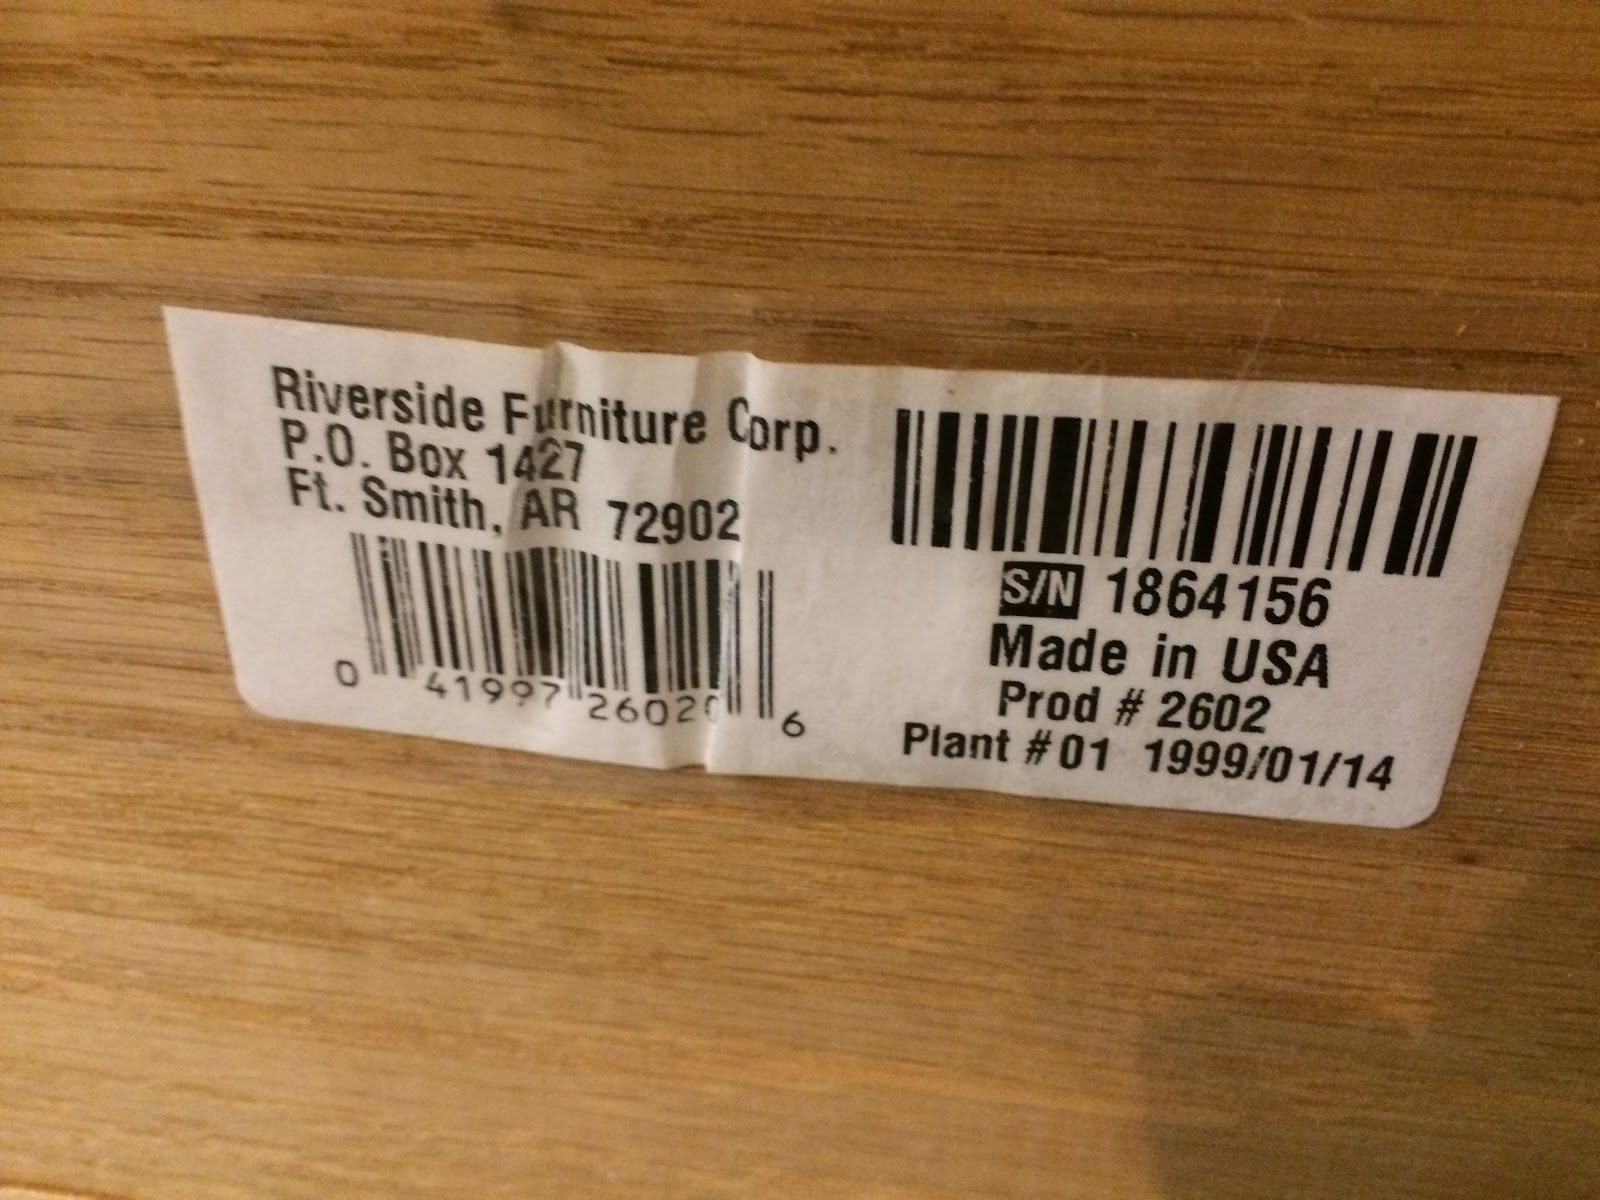
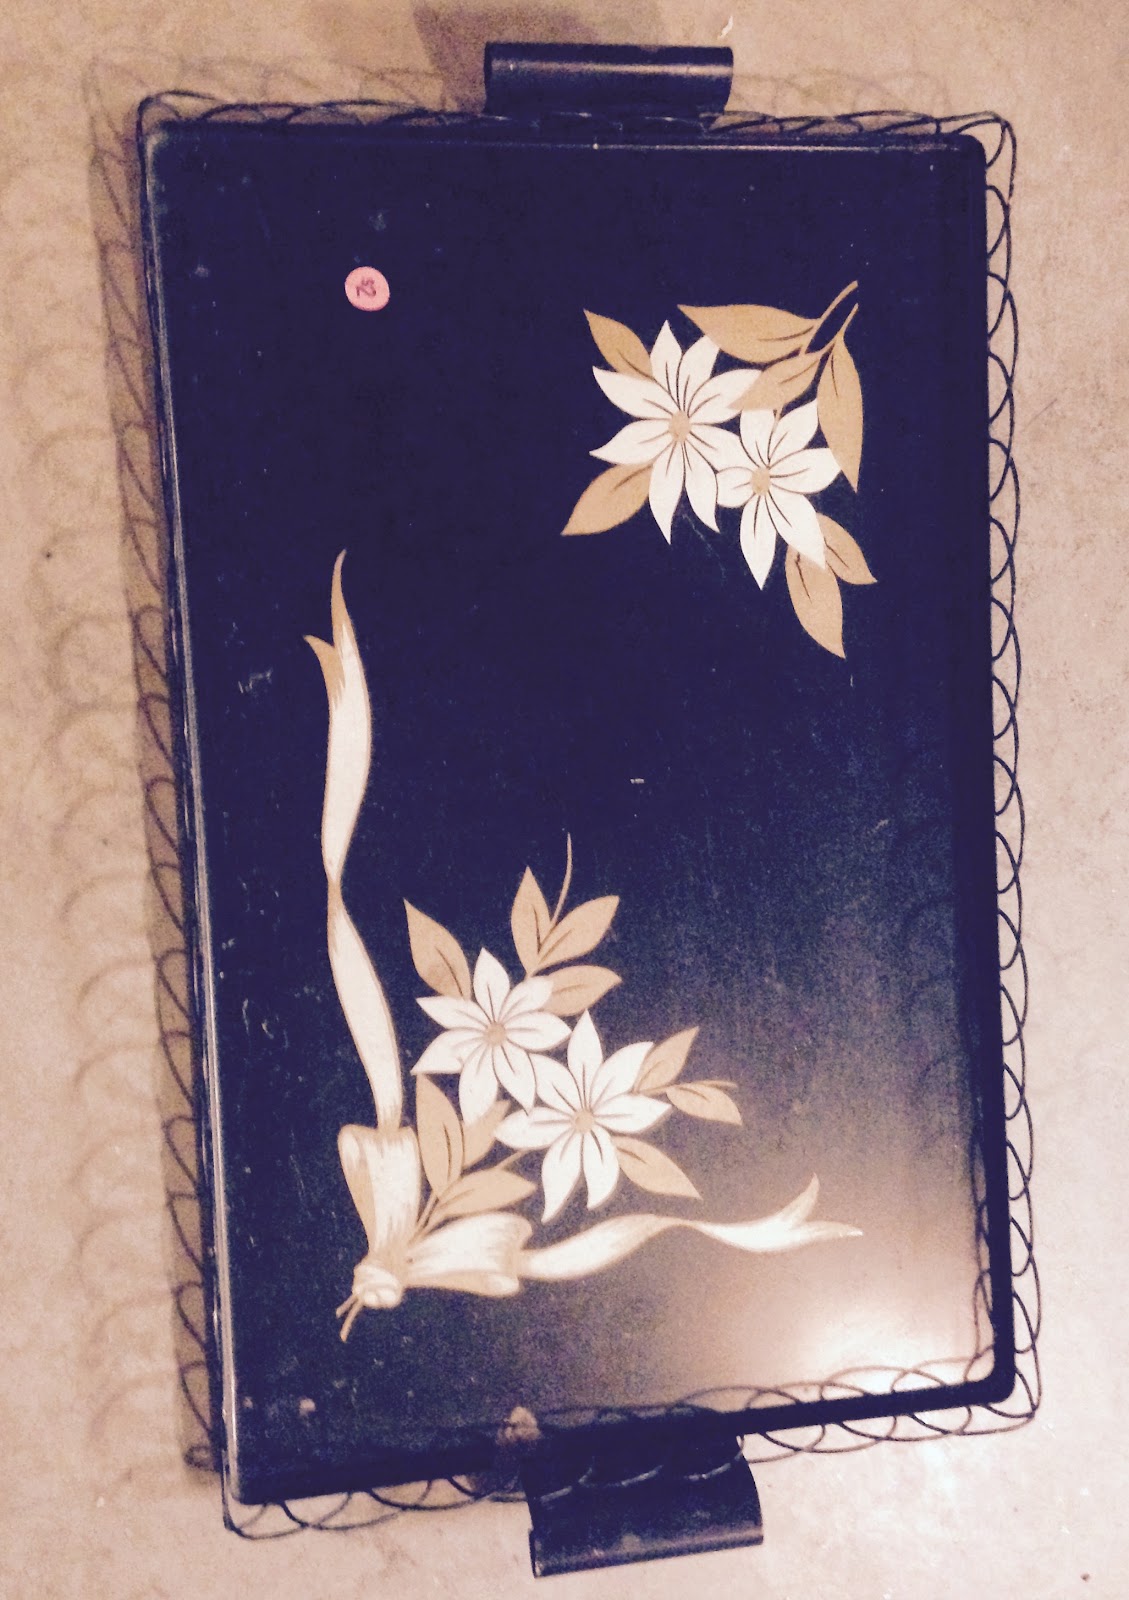
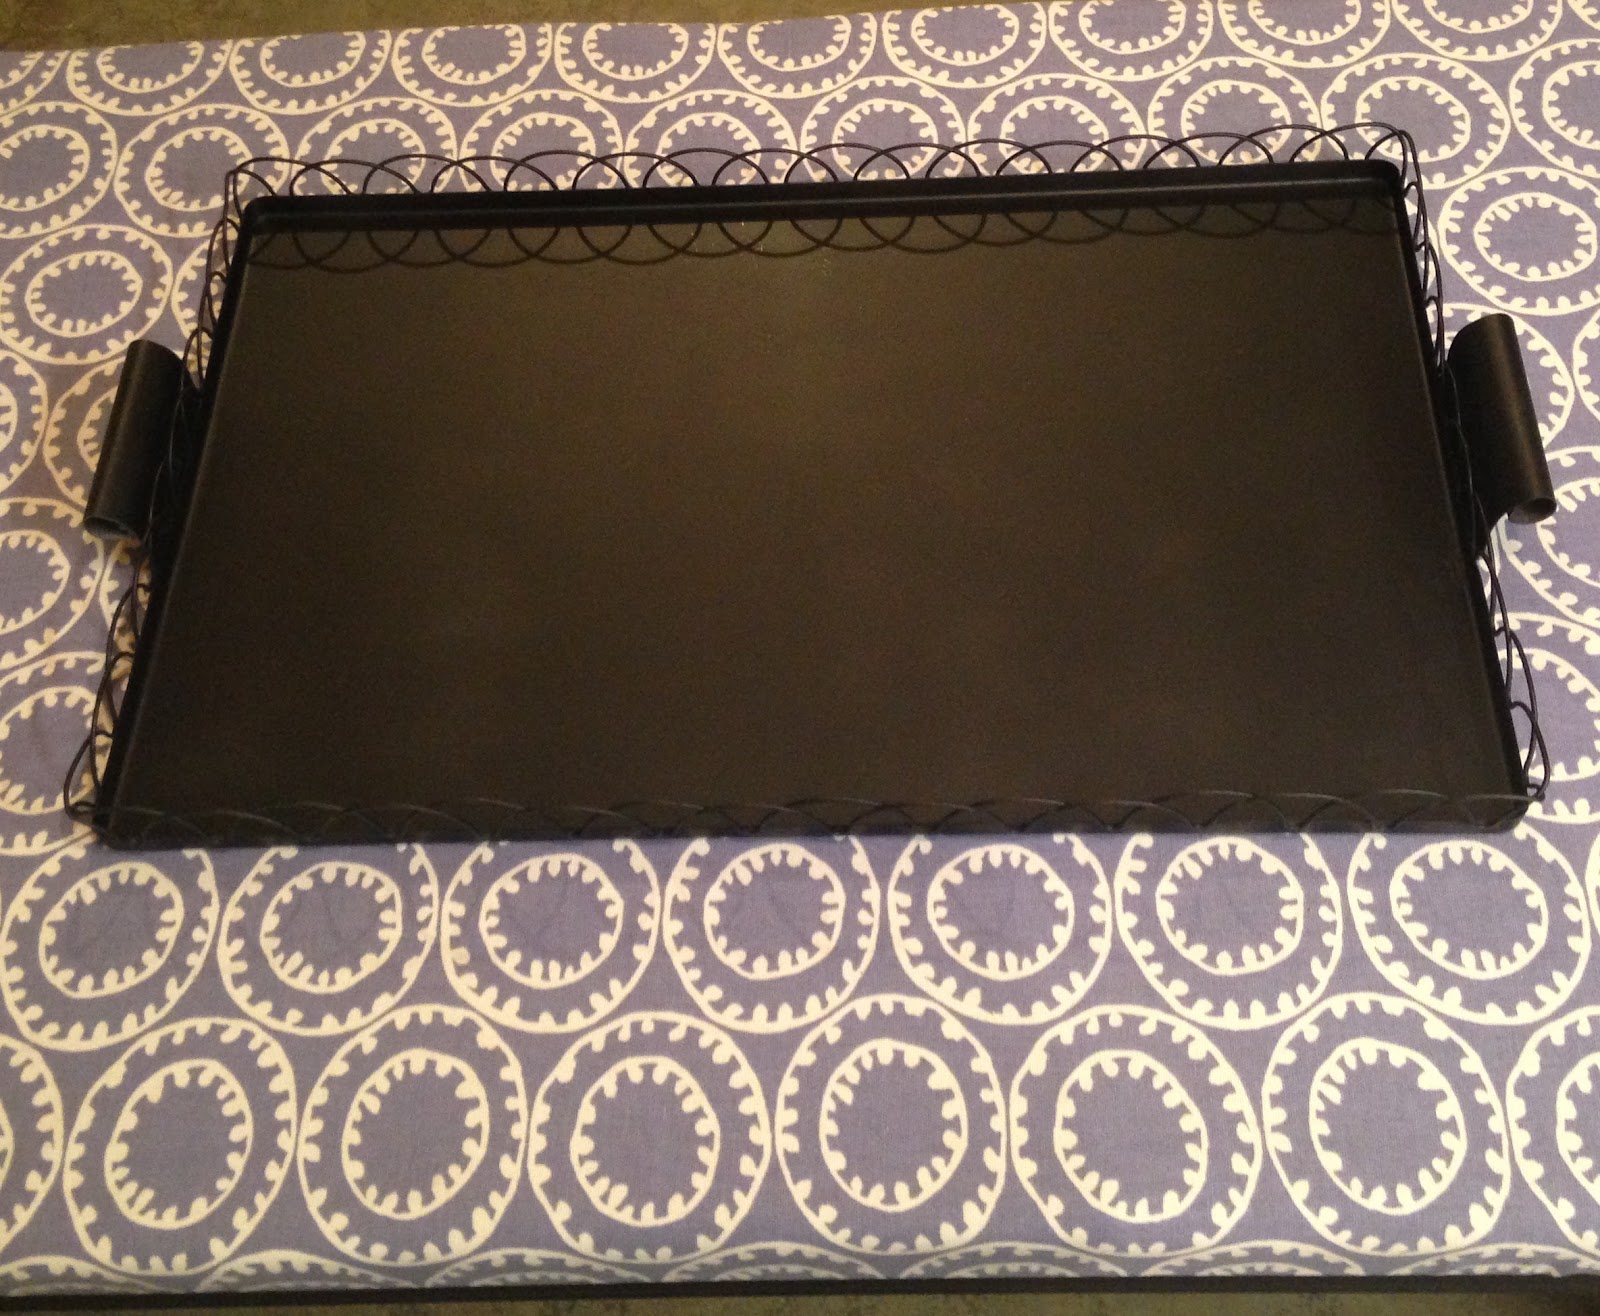
Just as it appeared, the table was super solid. We found a label and googled the manufacturer-- Riverside Furniture Company, a well-known brand based out of the southwest. I had originally envisioned painting the frame a flat black and using a gray and white patterned fabric for the top. I also knew that I wanted some sort of a cocktail tray to make the piece more functional. While checking out some yard sales in Groton, VT, I noticed a heavy, metal serving tray with a gaudy floral pattern on it. The price tag said $2, so I knew that by sanding down the pattern and spray painting it the same flat black or a silver metallic, it would go perfectly.
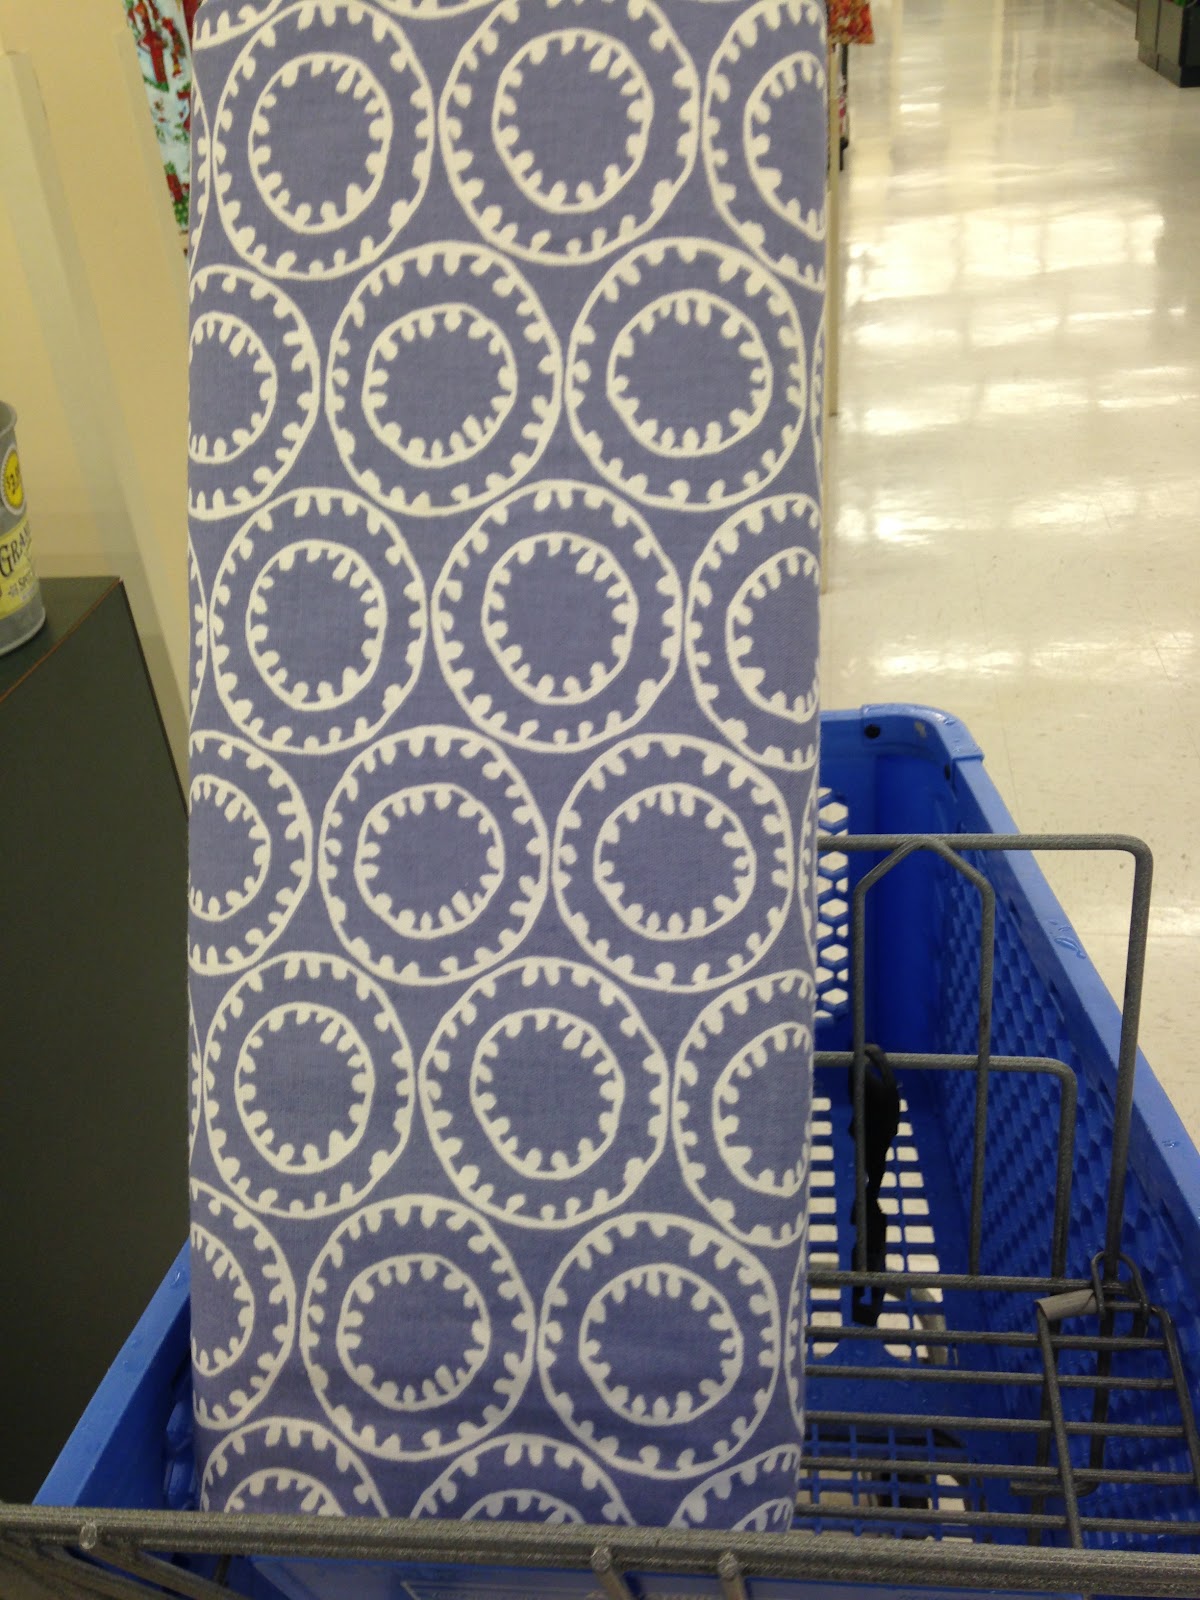
I took a trip to Hobby Lobby to find foam, fabric, and paint. Obviously, anytime you’re flipping a piece of furniture, you want to keep your overhead costs as low as possible, but you also don’t want to sacrifice quality. I did quite a bit of research on what to use for padding. I had pretty much decided on foam padding, but I did consider cheaper alternatives, such as carpet padding. Ultimately, we went with foam, a 1” thick 27”x72” roll cost 18.99. This was thick enough to not look cheap, yet firm enough to provide a solid base for the tray. I used my smartphone to bring up the 40% off hobby lobby coupon and ended up getting the foam for a little over 11 dollars. I also bought a small can of flat black spray paint for the tray. I spent $3.96 on this, which isn’t bad, but I know I could have done better if I shopped around. The majority of my time was spent in the fabric section. I decided to go with duckcloth, which is essentially canvas. It it stain resistant and more durable than apparel fabric. There were tons of patterns that I loved, and I had initially set out to find gray and white, but this dusty purple caught my eye. When I noticed it was marked to half off, so only 5 bucks a yard, I knew it was the one. I also liked how the circular pattern was consistent with the semi-circle edging on the tray. I bought 1 and ⅝ yards of fabric for right around $8. The table top was 28”x48”, so this gave me plenty of wiggle room, which was important for a rookie like myself.
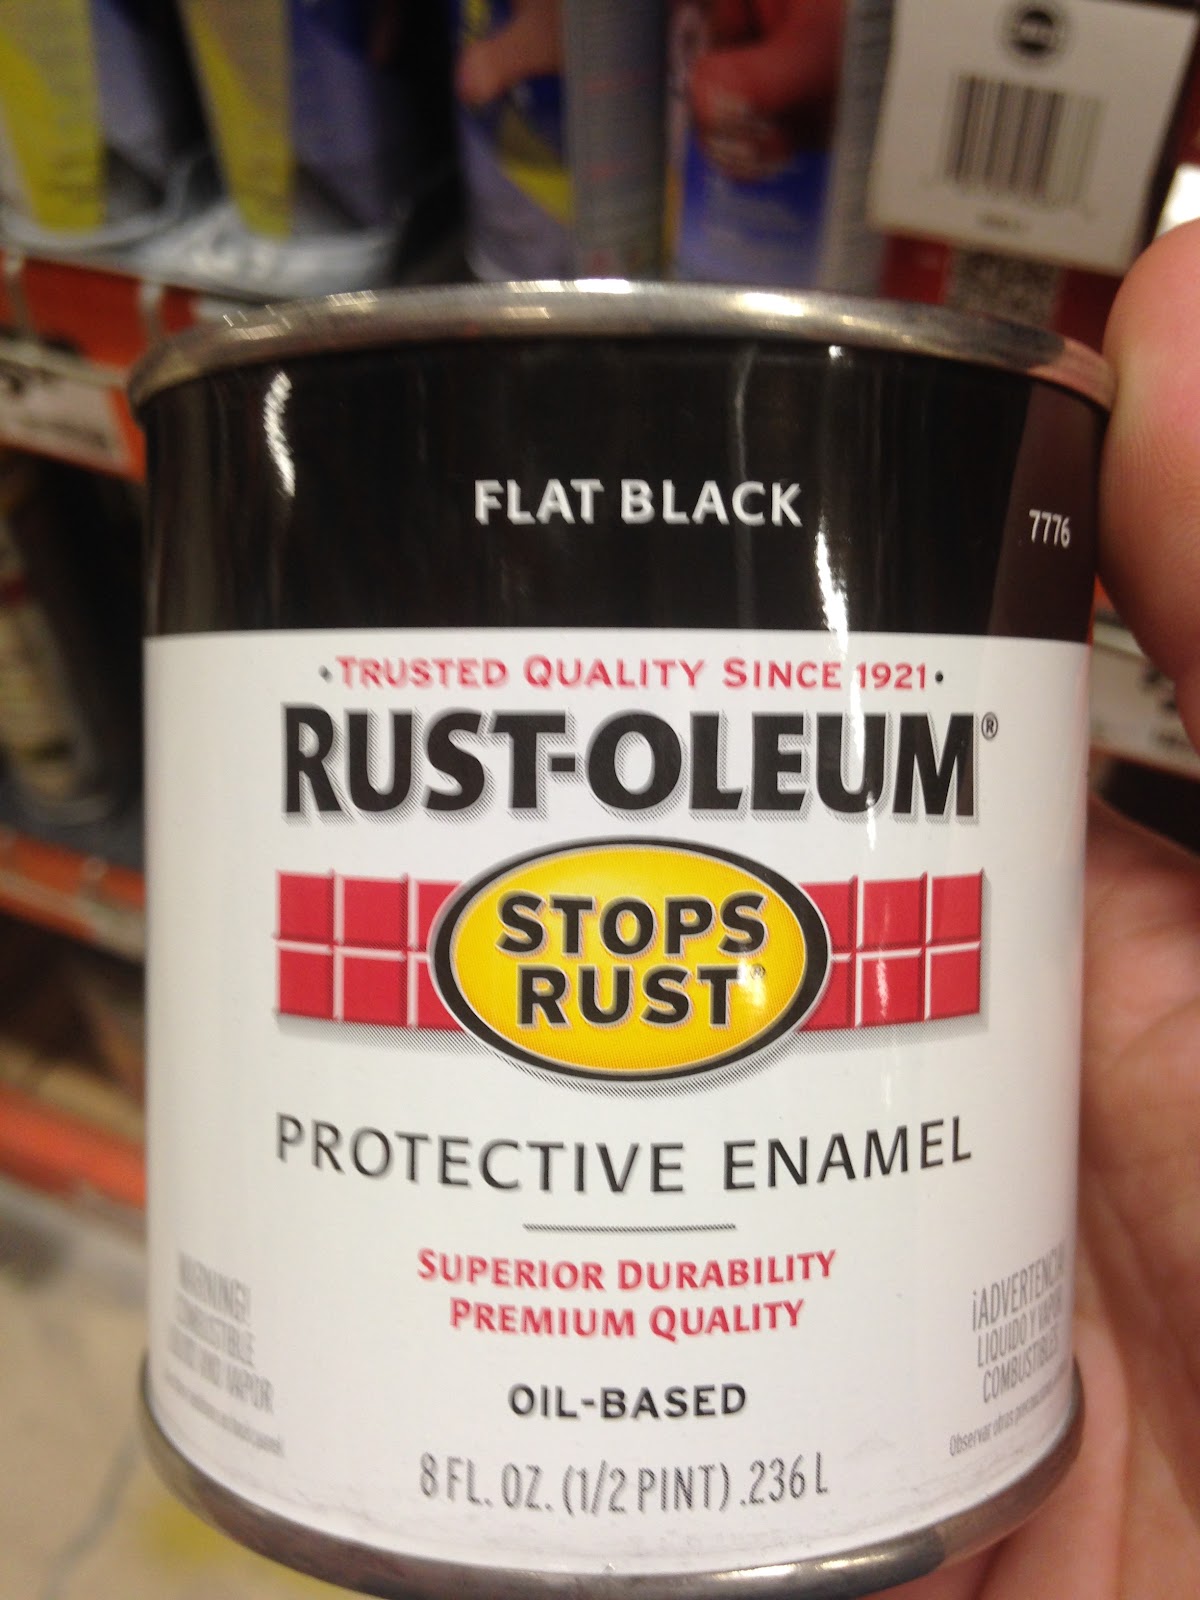

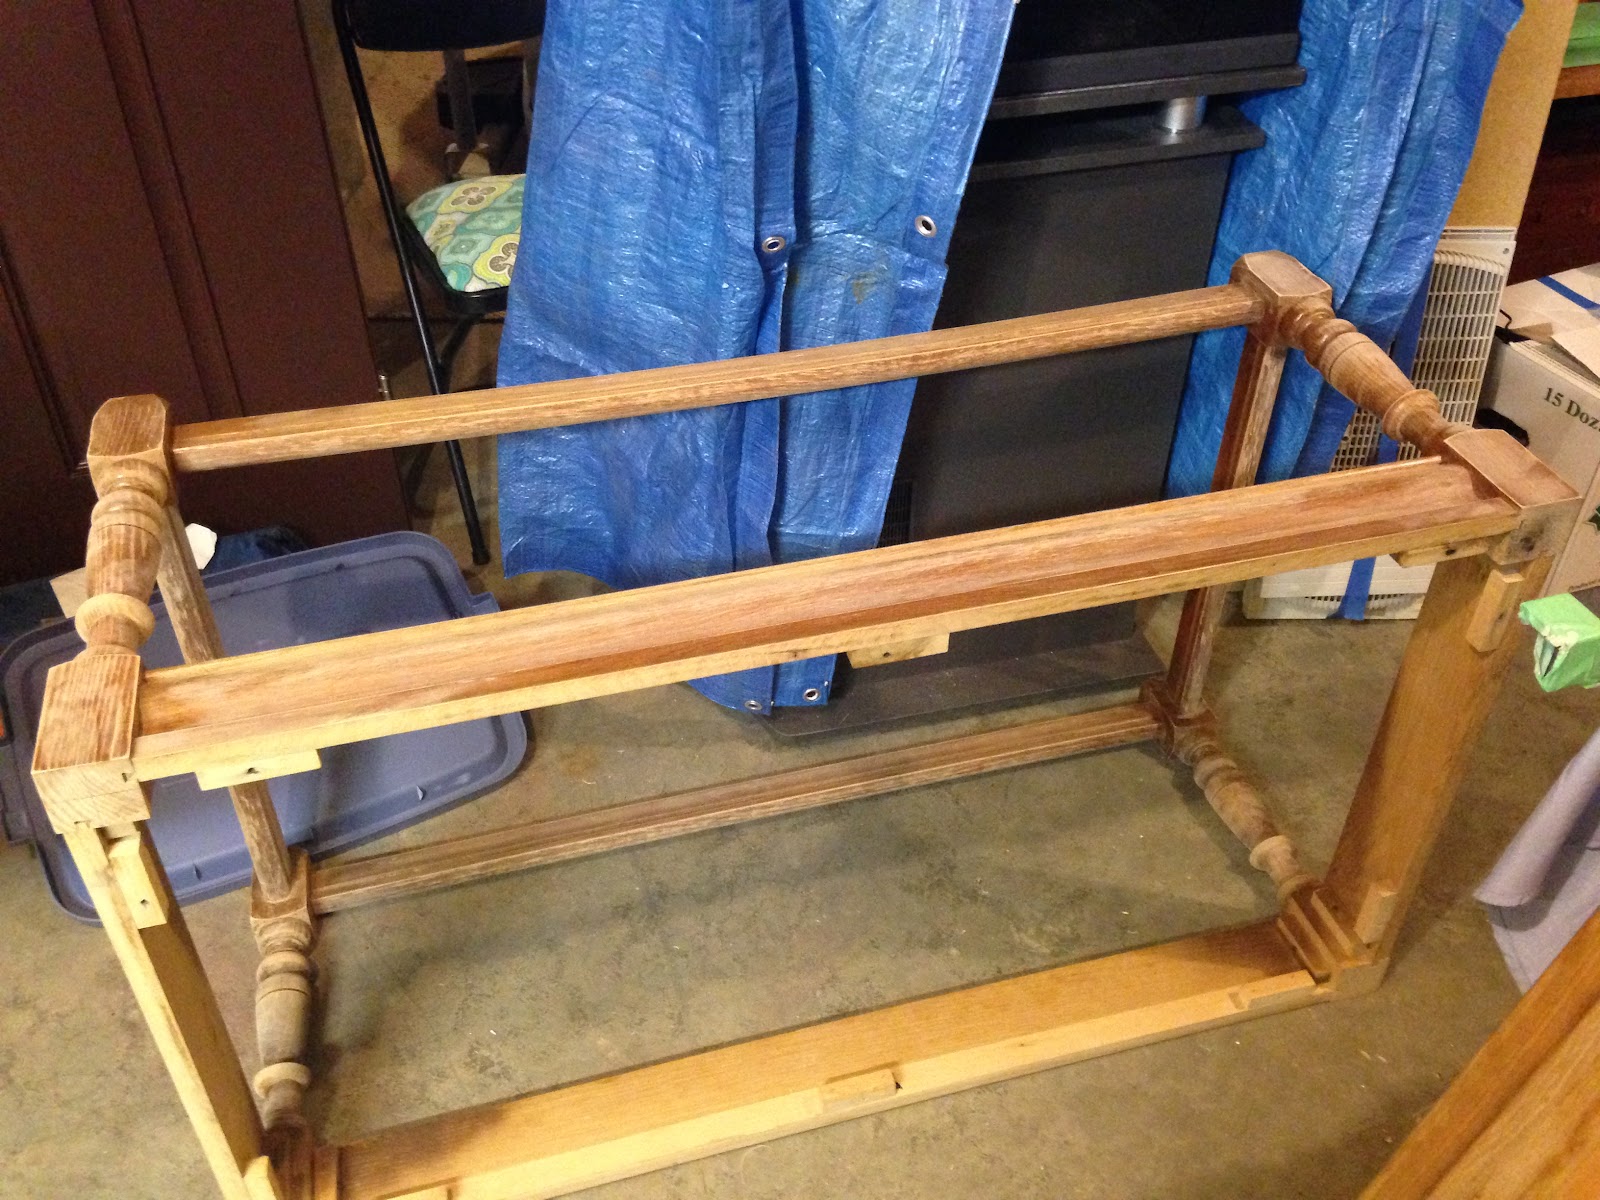
The first step in the project was removing the table top and sanding down the frame. I sanded the frame by hand as it was the best way to navigate the spindles. After it was fully sanded, I wiped it down with laquer thinner to prep it for paint. The paint job consisted of 3+ coats of Rustoleum flat black paint. The paint went on well, but we had to be thorough so we did not miss any nooks and crannys.

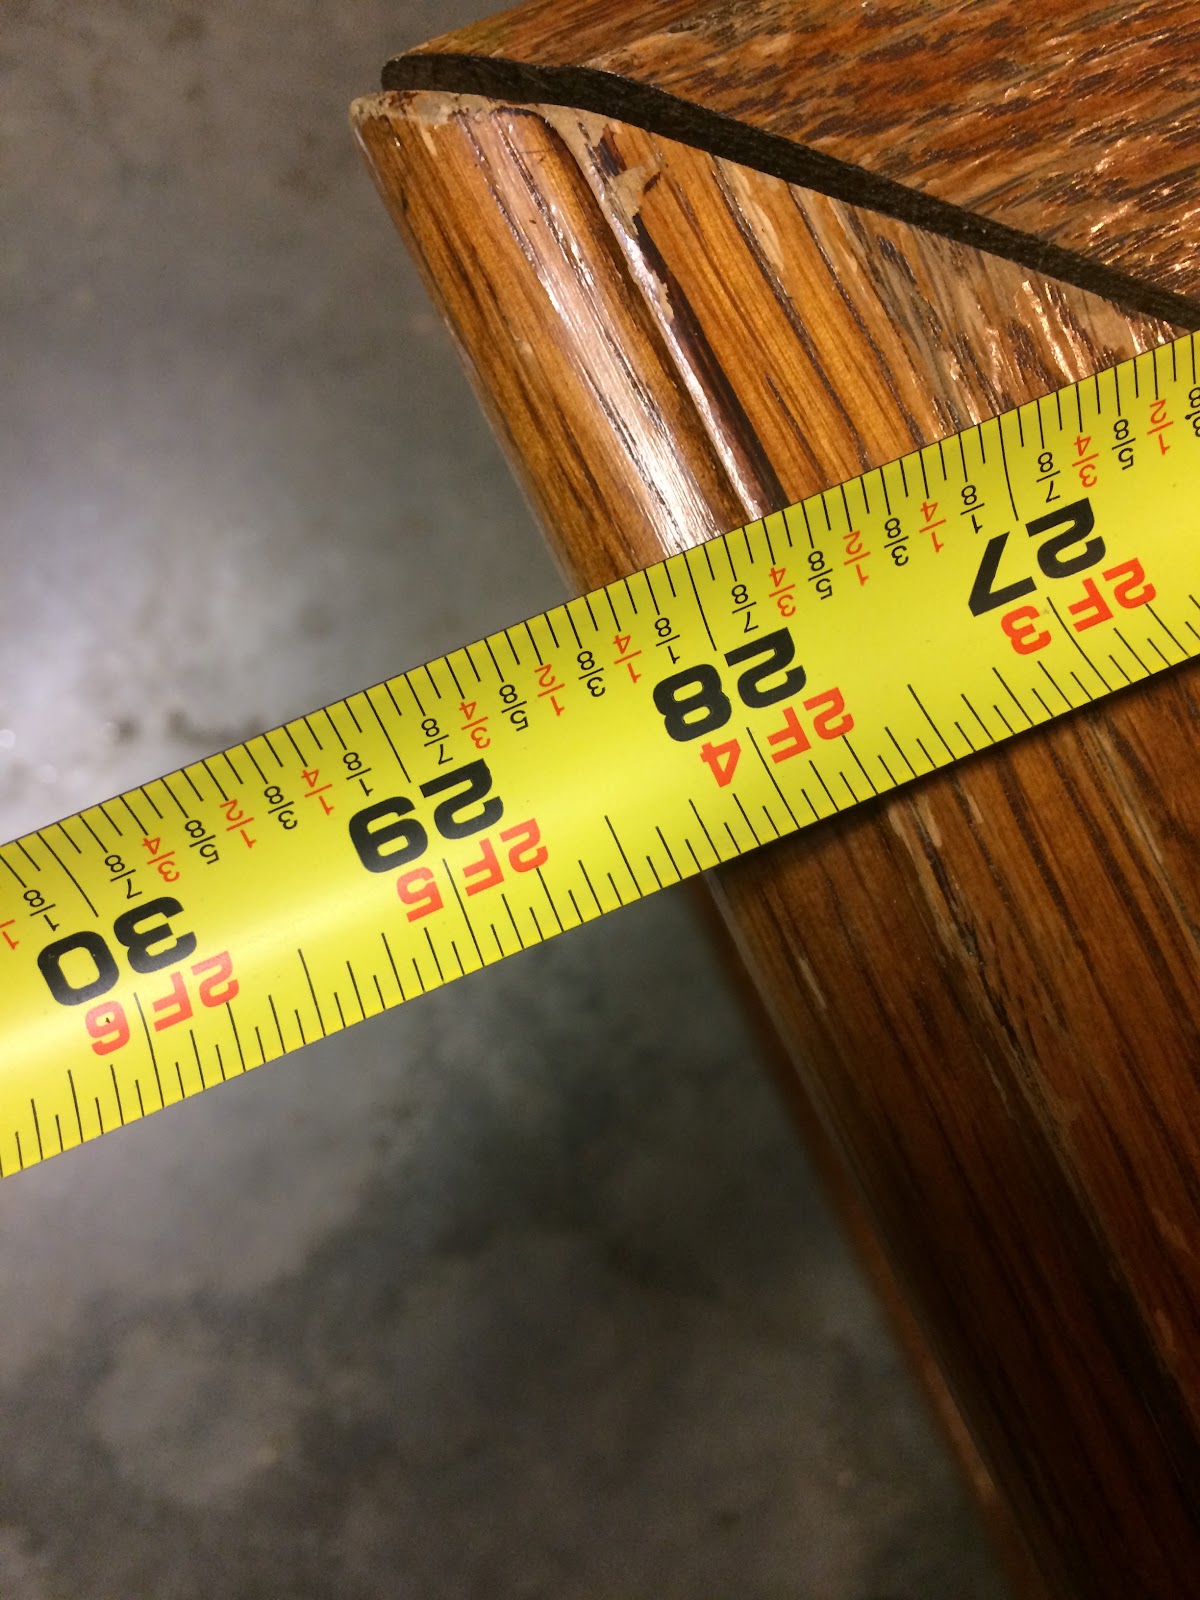
When the frame was painted, we then had to think about how to best upholster the table top. An initial concern I had was the widest foam padding I could find was 27”, and the table was 28” wide. I mentioned this to Dave, and he suggested that since the table had ample overhang, we trim ½” off each side. This would make it exactly 27” across. Meaning, we would only have to cut the foam to length. We also decided to flip the table top so that the surface was more flat since the original had some detail.
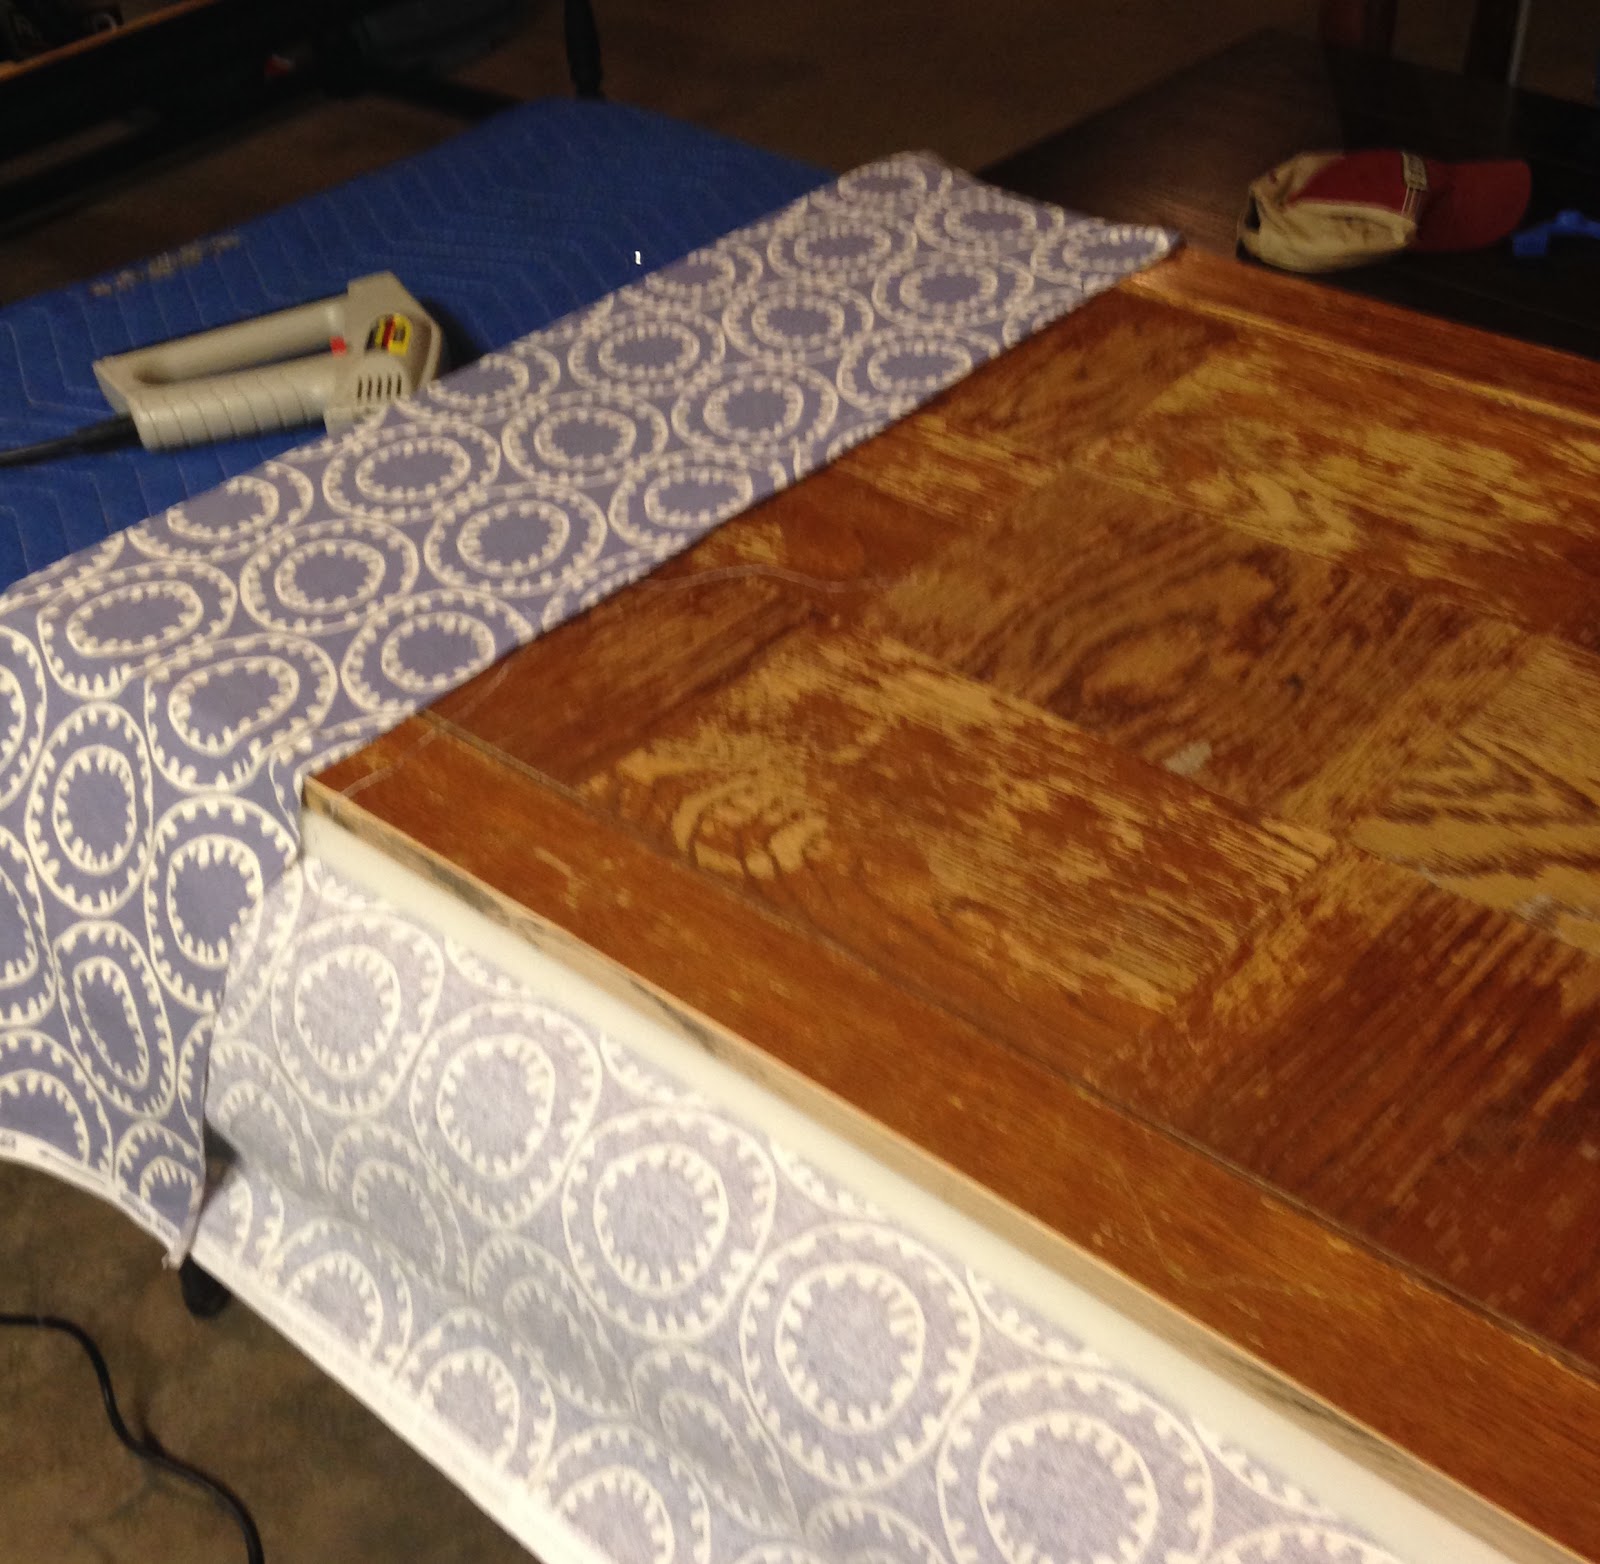
Using a spray adhesive, we mounted the foam to the table top. we then laid out our fabric and set the padded table top on it. We were extra careful at this point to make sure that the fabric was straight and even.

To upholster, we used a staple gun and started on the shorter sides. We pulled the fabric tight on one side and secured it in the middle. We then worked our way out, eventually folding over the corners at a 45 degree angle. We then stapled the other short side in the same fashion. After that, all we had to do was pull the longer sides tight to get rid of any excess, folds, or creases.


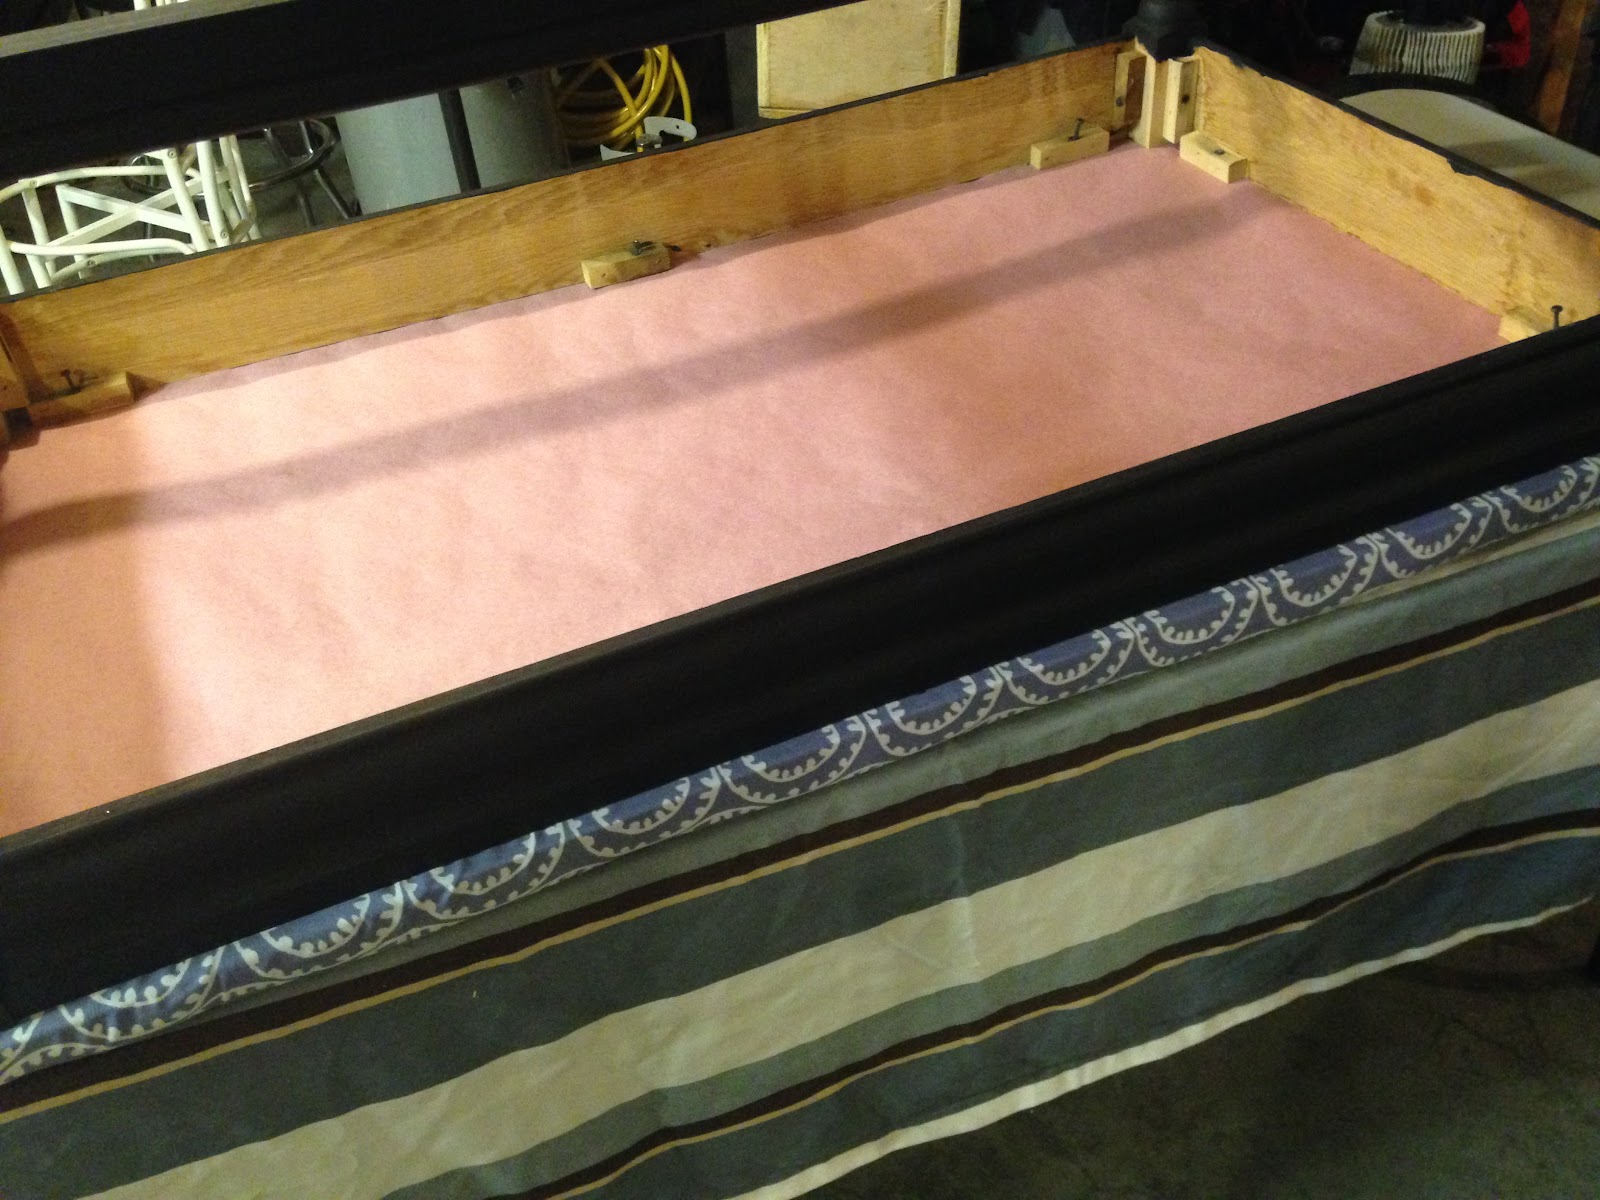
To make the piece look more finished, Dave used a roll of craft paper to cover the raw edges of the upholstery job. He secured this with staples and then screwed in the legs.
Seeing the finished product was incredibly satisfying. I’ve always been an idea girl, but to actually have one of my visions become reality was awesome.
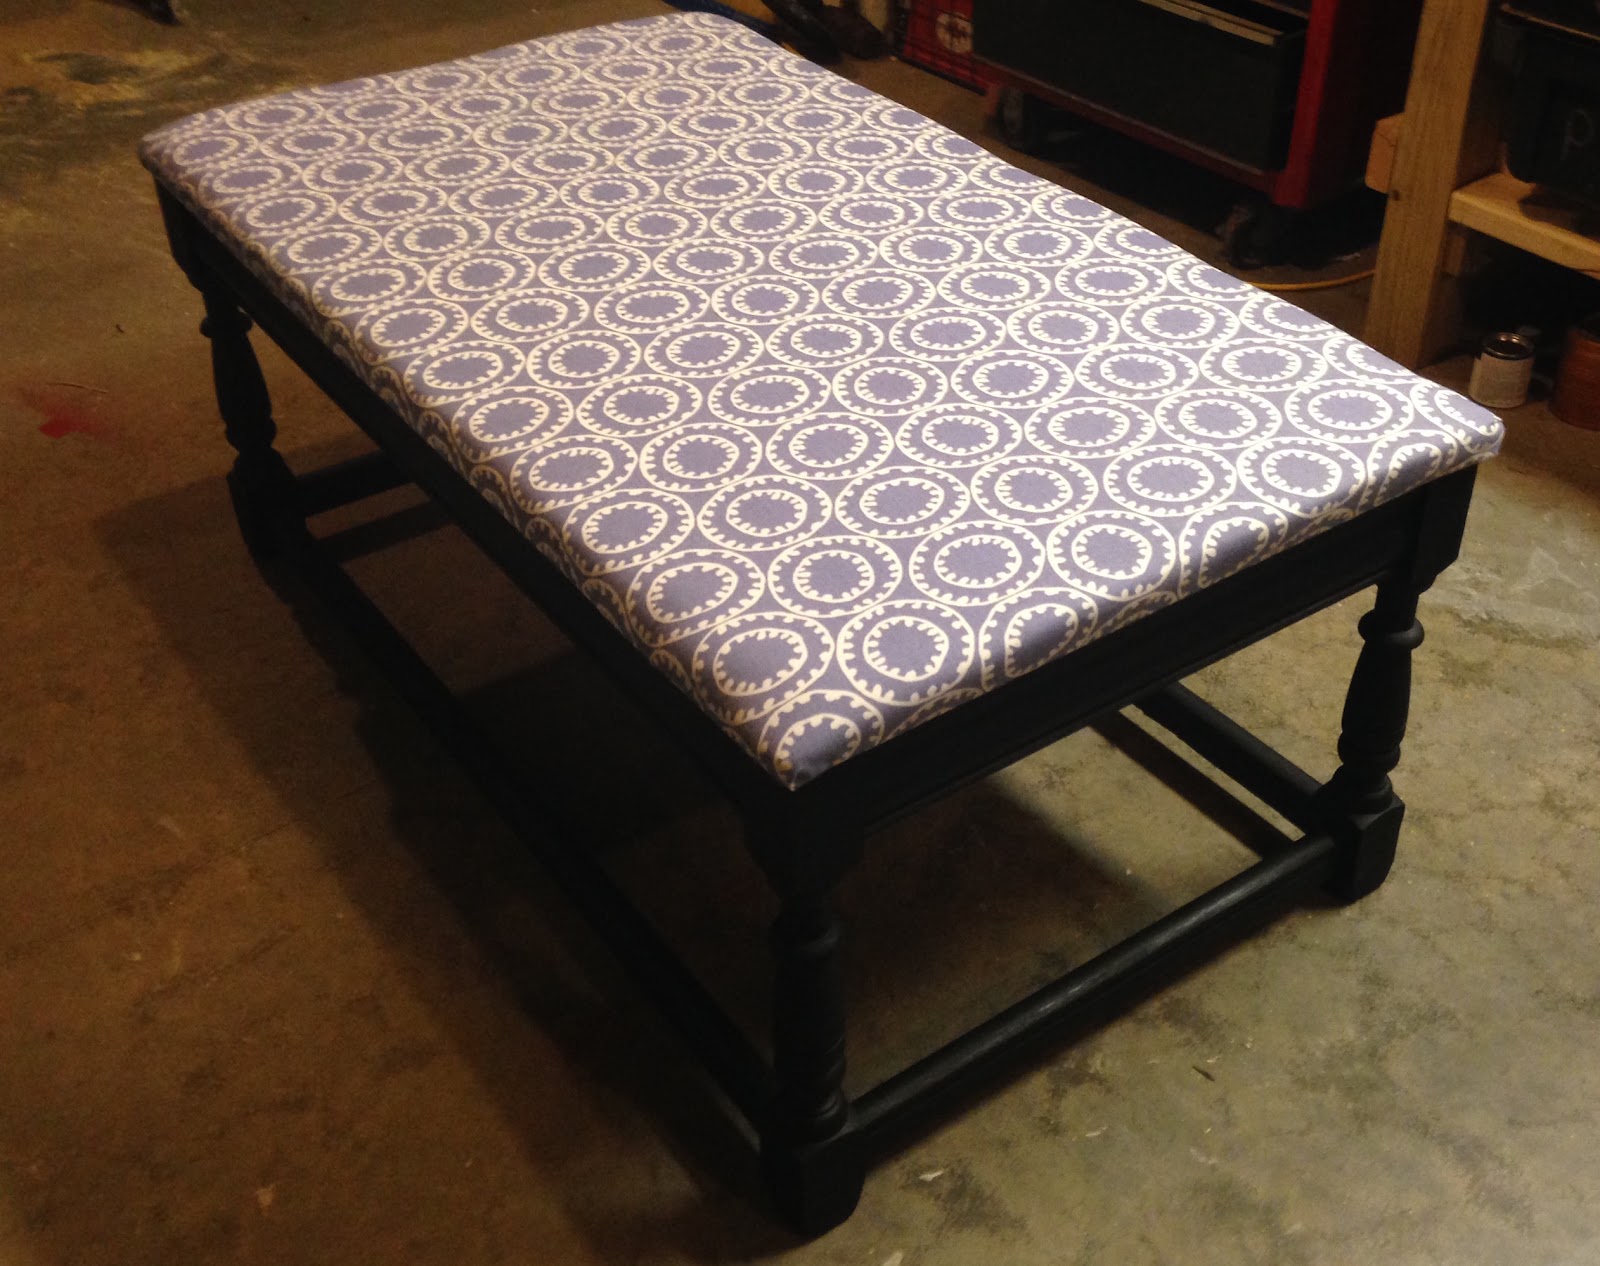

The icing on the cake was the metal tray. Not only is it a neat, vintage find, but it also increases the functionality of the piece by making it suitable to serve drinks or a snack.

I ended up liking this piece so much that I wanted to keep it, but we really don’t have a spot for it at the moment, so I decided to go with my original plan to sell it. If not as a cocktail ottoman, then as a pretty dressing bench in a bedroom.
No comments:
Post a Comment