
I have two toddlers and a full time job, so I wasn’t looking to go crazy when it came to Halloween. Still, I wanted to make it a fun day for the kids. Both boys have harvest parties at school, and we are hosting my nieces and some neighbors for trick-or-treating.
I spent some time researching some easy, affordable Halloween treats that would make the kids smile and make it look like I put in some effort without having to go overboard. After checking out several ideas, I decided on Frankenstein pudding cups and candy witches’ booty (hats and broomsticks).
Here are the links to the original posts:
Here’s what went into each:

Frankenstein Pudding Cups (I made approximately 36)
- small plastic cups (I used the 5oz ones from Party City)
- instant vanilla pudding (I used 10 boxes of Royal brand)
- 1 gallon milk
- 1 package of Oreo cookies
- green food coloring
- black sharpie marker
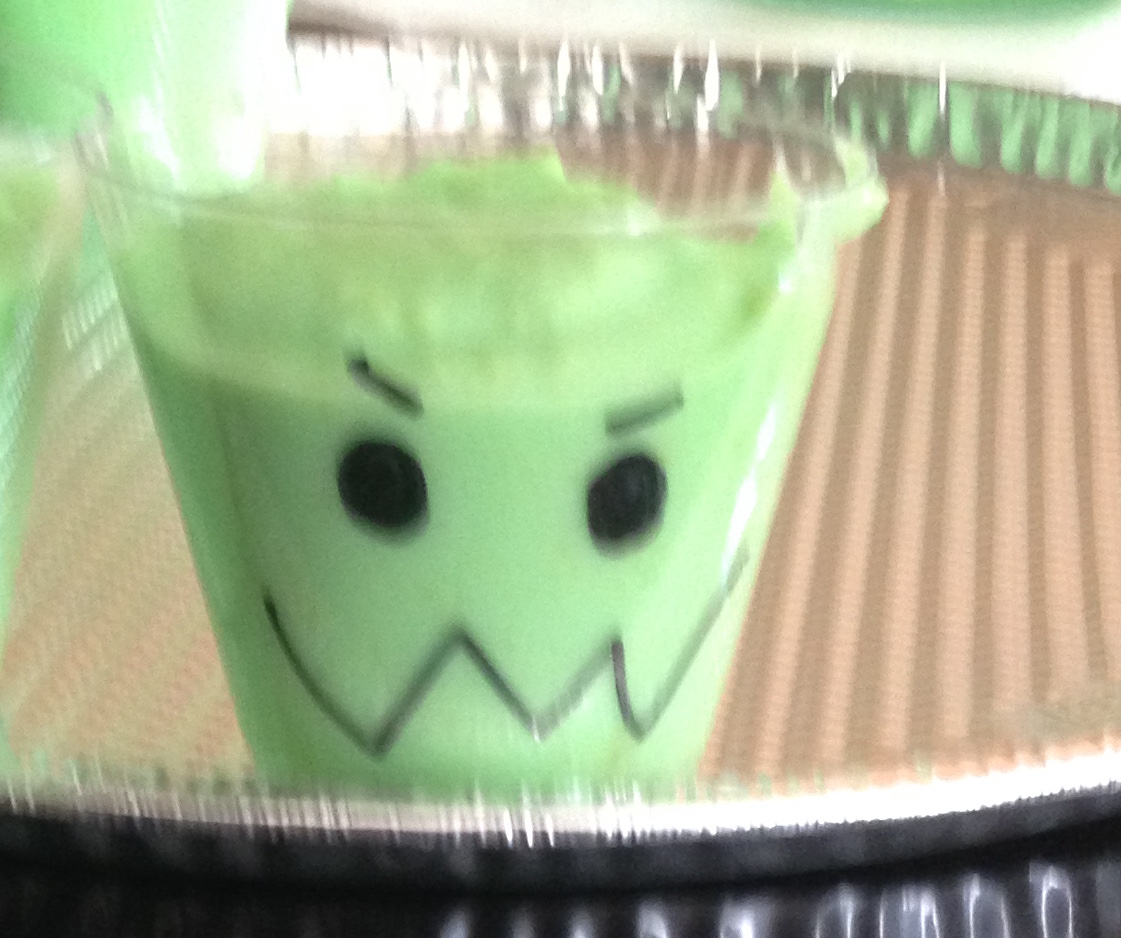
I started by drawing the faces on the cups. I did this while watching a Sister Wives episode I had recorded. Using a sharpie marker, I drew eyes, eyebrows, and a mouth on the small plastic cups. Hint: be sure to leave some space between the top of the eyebrows and the rim of the cup. This will allow space for the cookie crumbles on top.

The next step was preparing the pudding and filling the cups. I made the pudding in batches, whisking together two packages of pudding mix, 3 cups of milk, and 15 drops of green food coloring in each batch. When it was completely mixed (approximately 45 seconds-1 minute), I used a ladle to scoop the pudding into the cups. I did not fill the cups completely; I filled them just enough to cover the eyebrows.
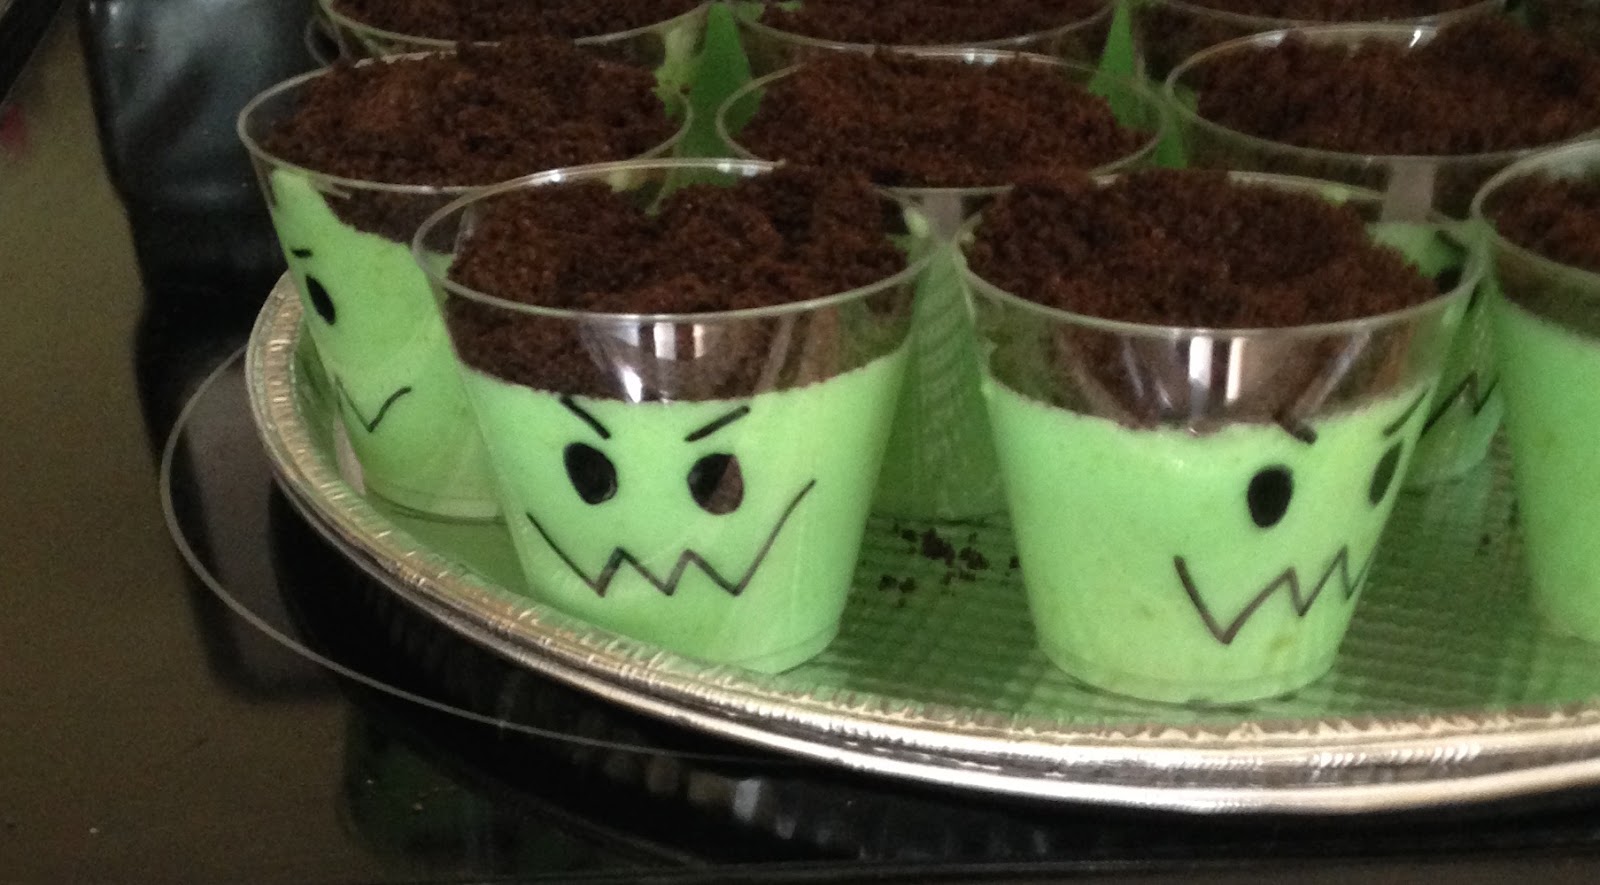
At this point, the cups can be refrigerated to let the pudding set (3 hours in refrigerator) and the crushed Oreos can be added right before serving.
In this case, I added the Oreo crumbles right away. Since they were going to feed mostly toddlers, I figured softer cookie pieces wouldn’t be a big deal. I took a risk crushing the Oreos in my Ninja because I was worried the cream filling would create a paste. I am happy to report that the Ninja worked awesome crumbling the Oreos down so well that they could be easily scooped onto the tops of the pudding cups.
The cost for the pudding mix, milk, and cookies was $7.59. I spent $3.99 on the package of 88 cups, so this particular project used less than half of that. I also spent $2.99 on a variety pack of food coloring, but only used about a third of the green. Because the cups and food coloring can be used in the future, this was relatively inexpensive, and oh so cute.
Witches’ Broomsticks (makes 35-40)
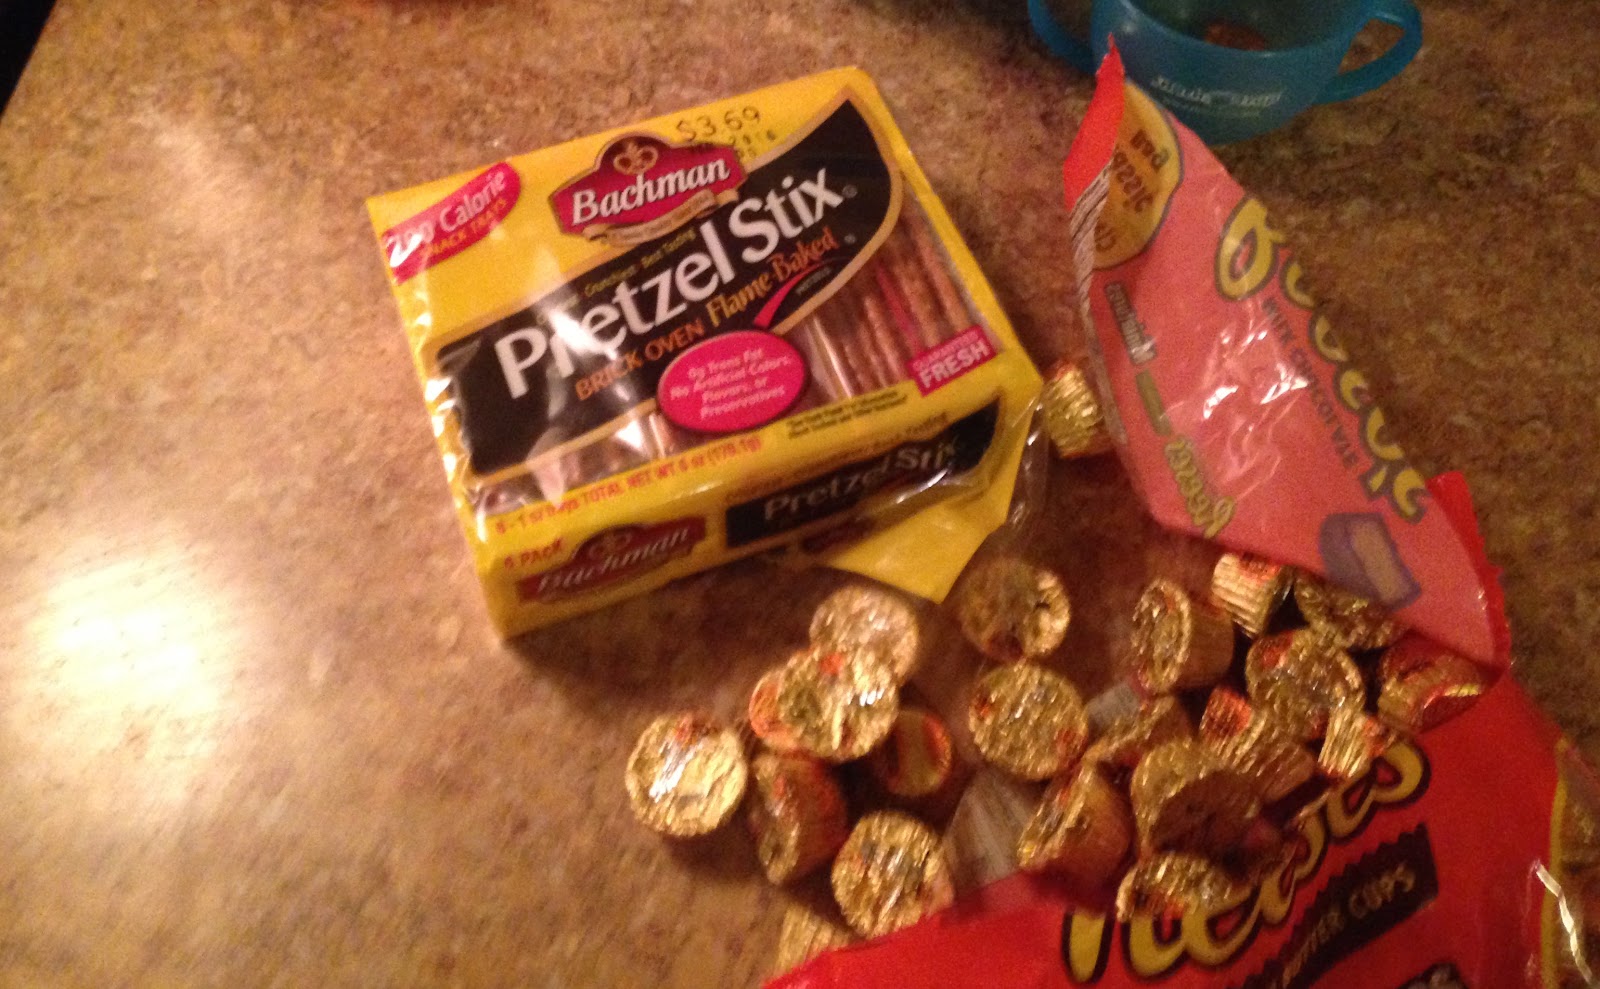
- 1 bag Reese’s miniature peanut butter cups
- Pretzel sticks
- Icing (optional)
Even though easy, these were the most difficult of the three snacks to make, and that was only because it was hard to stick the pretzels into the peanut butter cups smoothly.
I started by unwrapping the peanut butter cups. Then, I snapped off about an inch off the end of each pretzel stick and twisted it into the peanut butter cup. You don’t want the peanut butter cups to be melty, but it is a bit easier to insert the pretzel if they are not cold. Hint: To make the pretzels easier to insert, consider using a point object (I used a bamboo skewer) to create a pilot hole before pushing in the pretzel. You might also use a small dab of icing as a glue at the insertion site.
I spent about $6 to make almost 40 of these. When finished, I still had leftover pretzel sticks and icing.
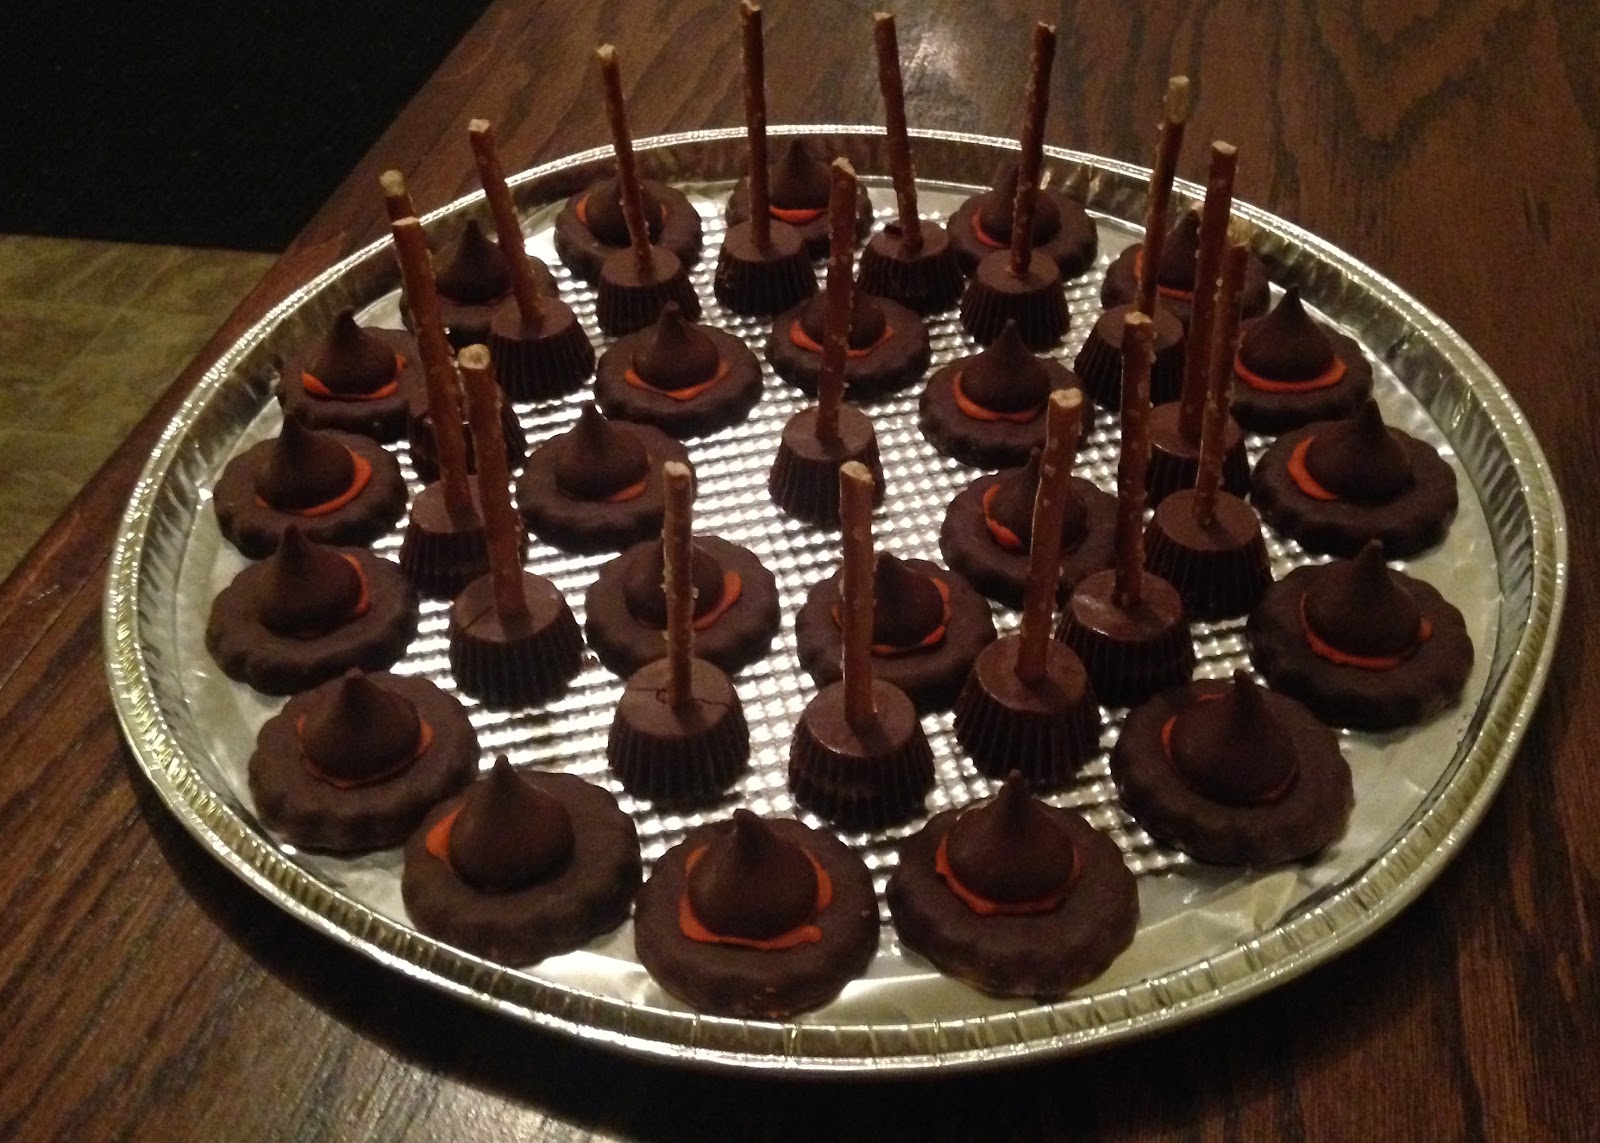
Witches’ Hats
- 1 package Keebler grasshopper cookies
- 1 tube of orange or white icing
- 1 bag of Hershey’s kisses
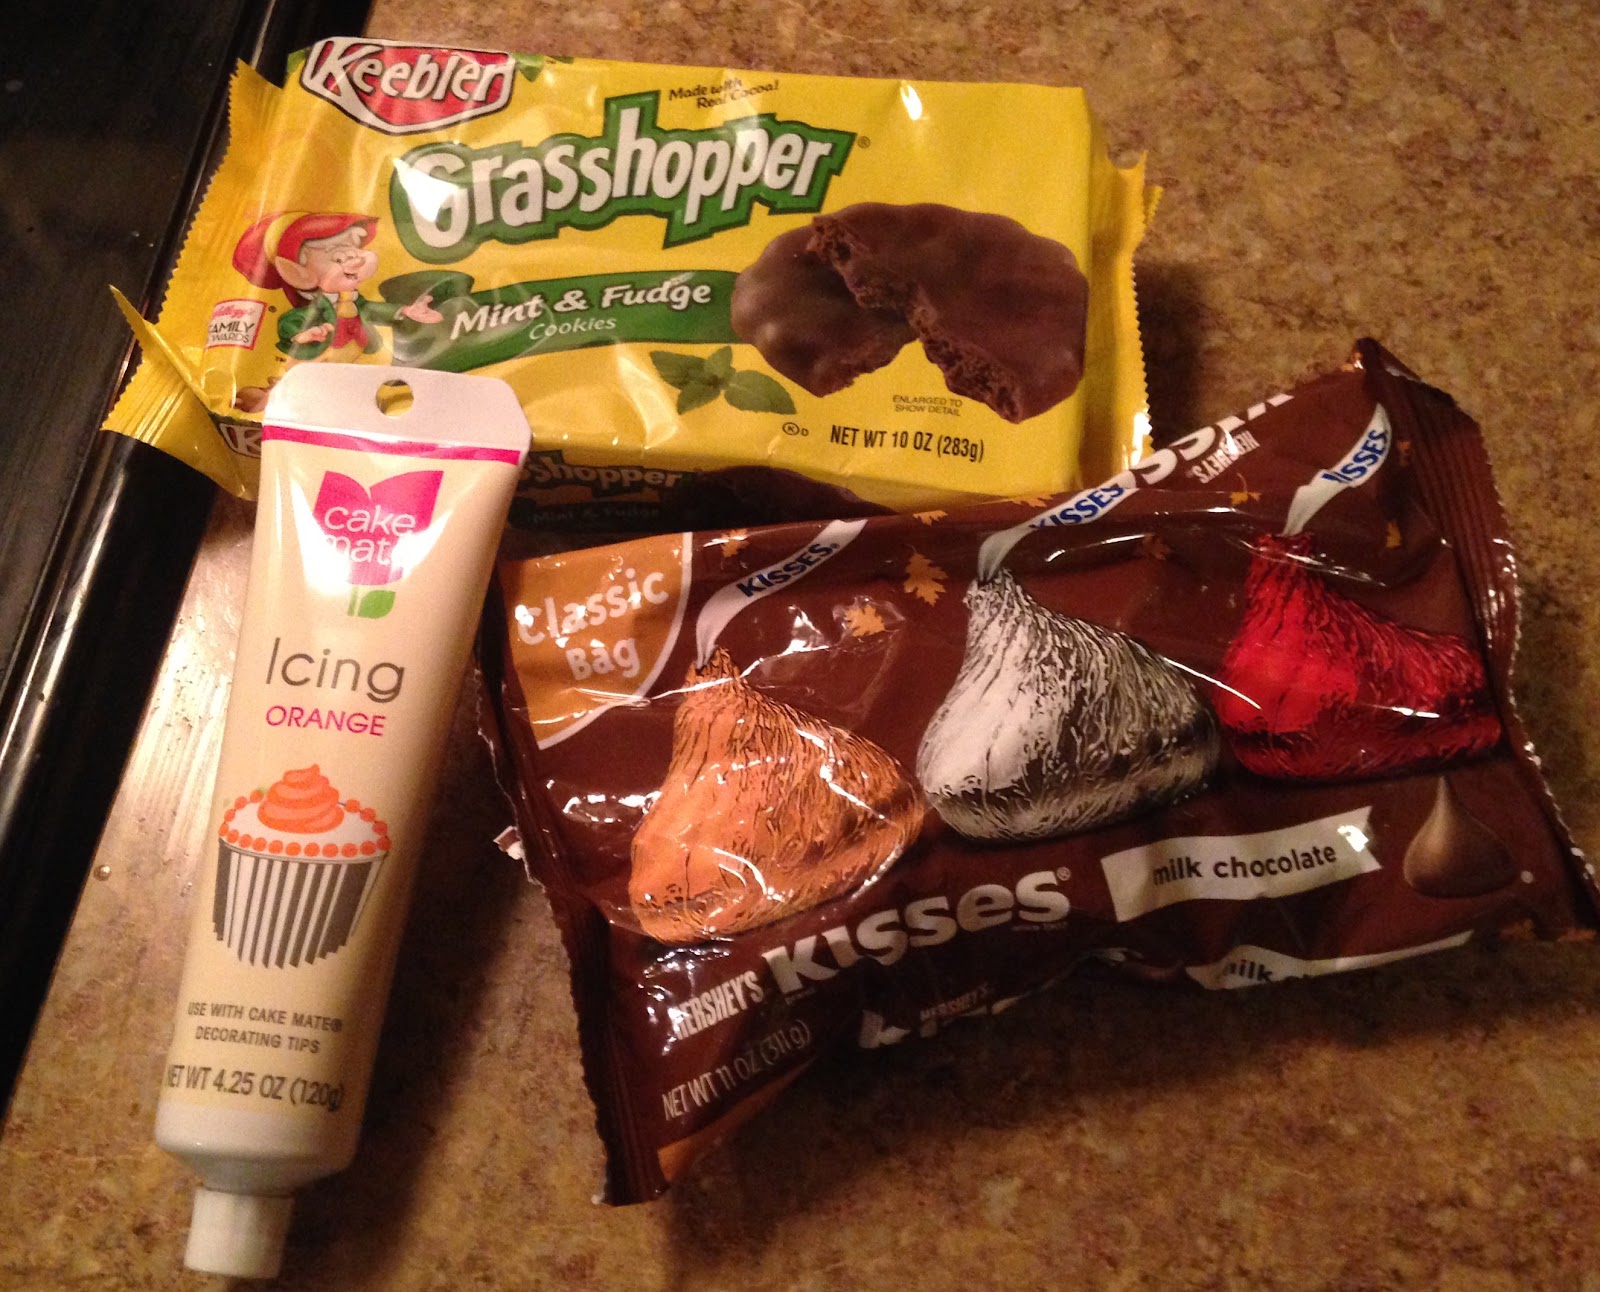
I started by unwrapping the Hershey’s kisses and laying out some of the grasshopper cookies.
I then added a black bean sized dollop of icing to the bottom of each Hershey’s kiss and placed them on top of the cookies.
I applied some pressure to the Hershey’s kisses to cause the icing to peek out from under the brim, making it look more like a hat. Super easy!

These cost about $7 to make approximately 40 hats.
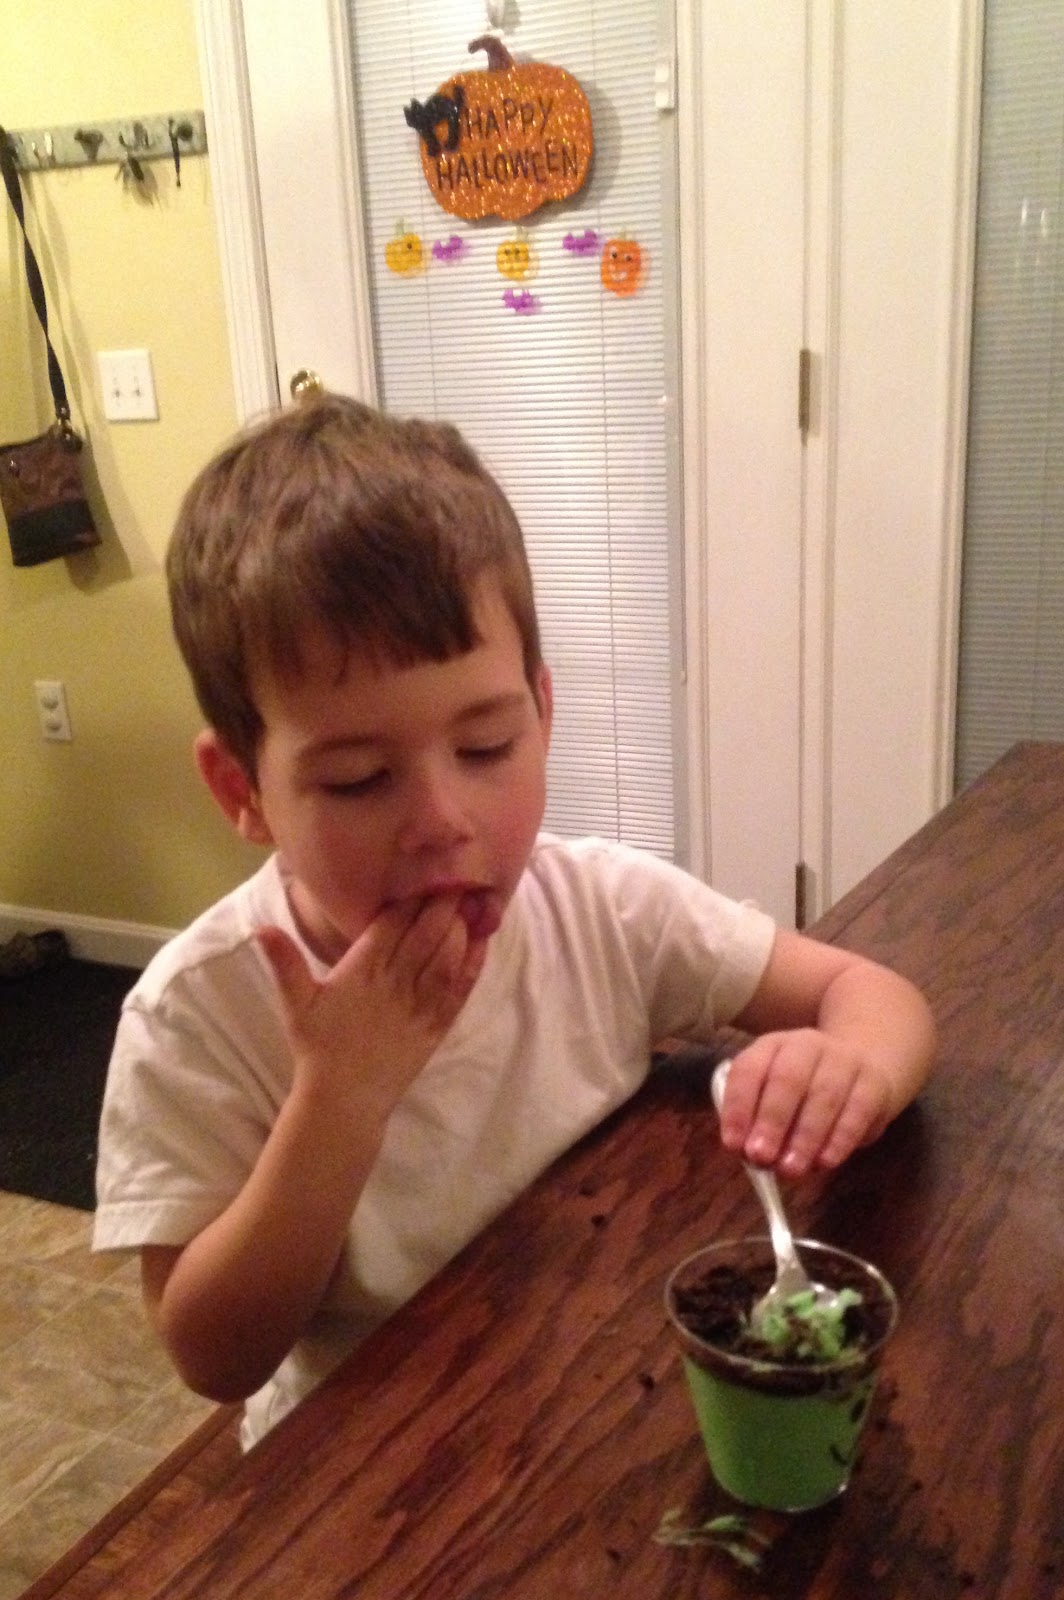
All three were approved by my taste tester, Chace, who took his job very seriously. :)
No comments:
Post a Comment