
My daycare provider and cousin, Miss Vickie, and I decided to do a kid swap this week. For all you moms or dads out there who need a day (or two) to get things accomplished without kids in tow, this is a cheap way to get it done. I plan to watch her kids one day, and she’s doing the same for me the following day. The weather is calling for thunderstorms and rain all day, so the typical trampoline, kiddie pool, sprinkler, swings, walk to the park routine isn’t going to happen. Rainy days can sometimes be great for cuddling, movie watching, reading, and puzzles, but I wanted to go above and beyond the normal indoor novelties in honor of our special guests.
Since her two girls, Kaelyn (7) and Corynn (5), are older than my boys I wanted to come up with some activities that would keep all ages entertained. I also didn’t want to spend a ton of money. I looked on Pinterest for ideas and found a couple I thought seemed pretty cute and “doable.” Here are the original links and our spin on them:
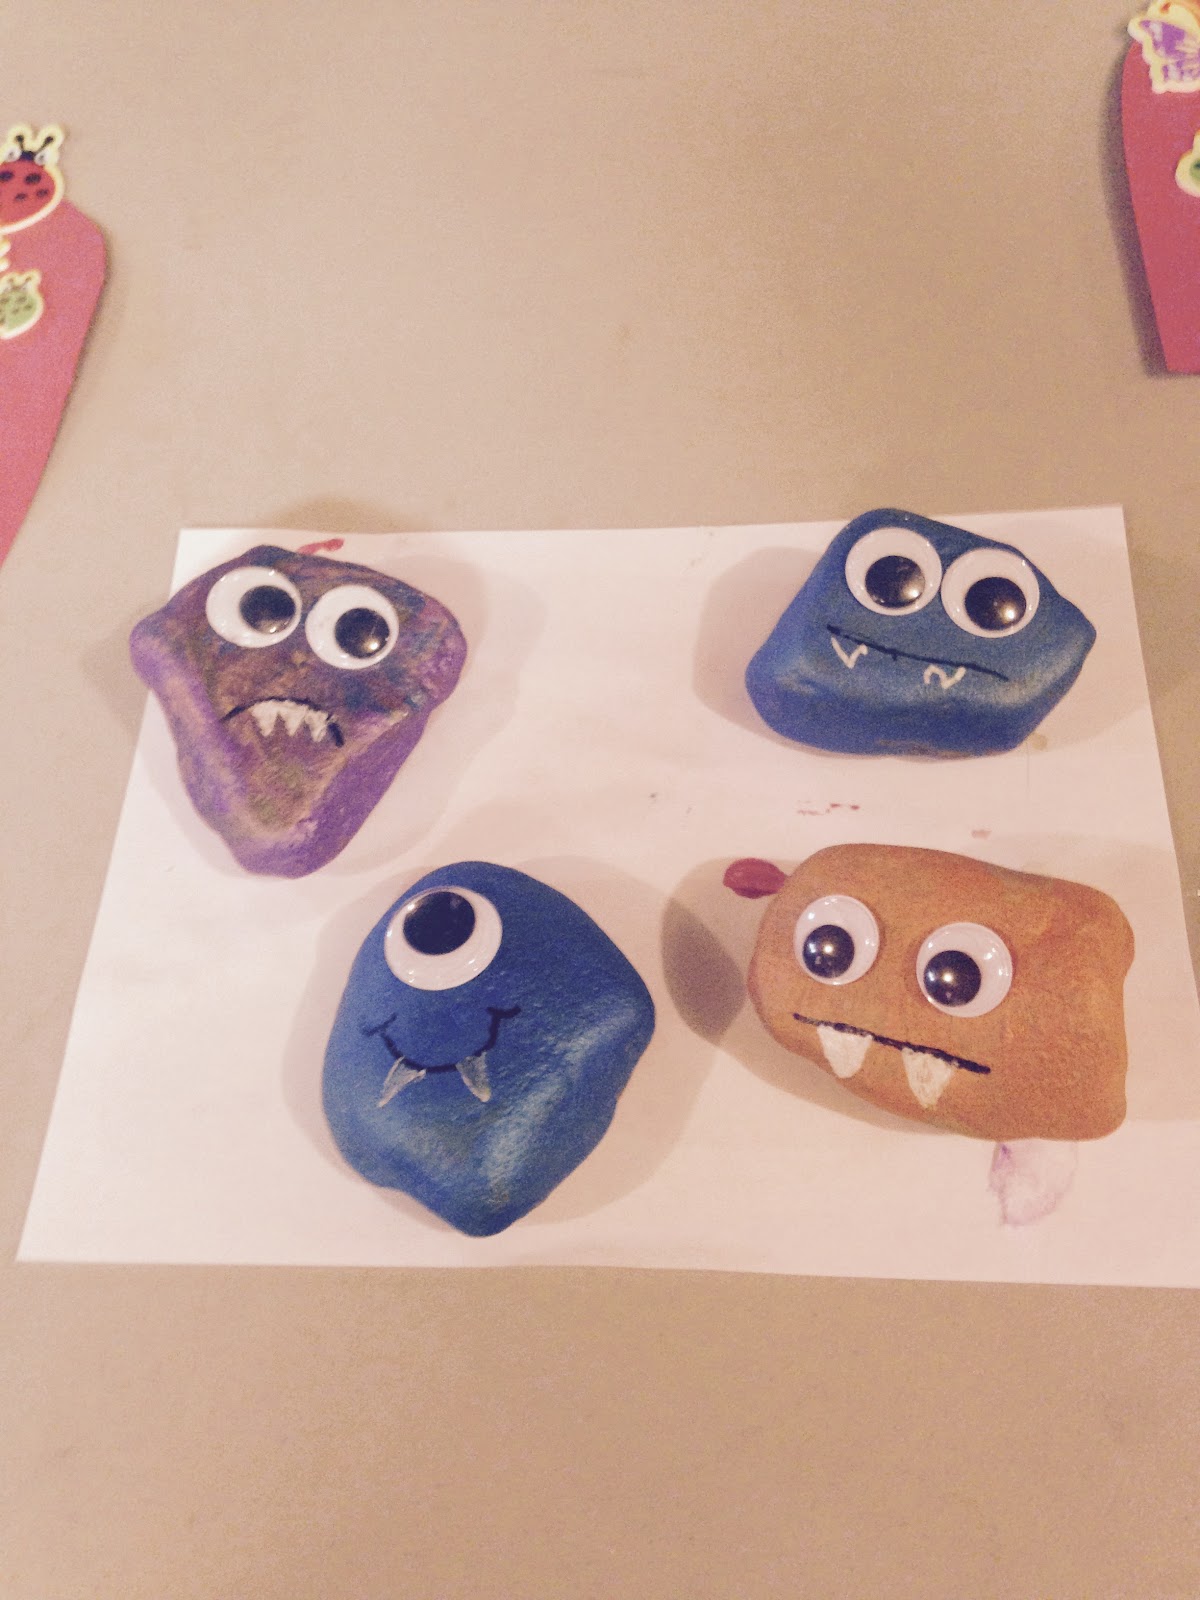
Rock Monsters

Supplies
- Rocks. The original pin used river rocks, but we substituted rocks from the yard, trying to find ones with at least one pretty flat side for the face. I just washed them off the night before and let them dry.
- Paint. I used Crayola washable paint. Other, more permanent types of paint will work, but I think it’s pretty obvious why I chose washable.
- Paint Brushes. I used three larger paint brushes for the kids, but also bought an assorted pack of smaller brushes in case they wanted to add a design to their monsters.
- Smocks. In lieu of actual aprons, we used old, oversized t-shirts.
- Paint Pens or Sharpies in black and white for the teeth. These can also be used to draw eyes if you choose to forego the googly eyes.
- Googly eyes. I bought a package of assorted sized eyes at Michael’s. Oddly enough, I will need googly eyes for a baby shower gift I’m working on, so I killed two birds with one stone.
- Hot glue gun. If you want to glue on eyes, hot glue works best. If you use a paint pen and draw them on, you can skip this.
How We Did It:
- First, they all chose a base color for their rocks and painted them. I helped them to use their brushes to spread the paint out over the rock.
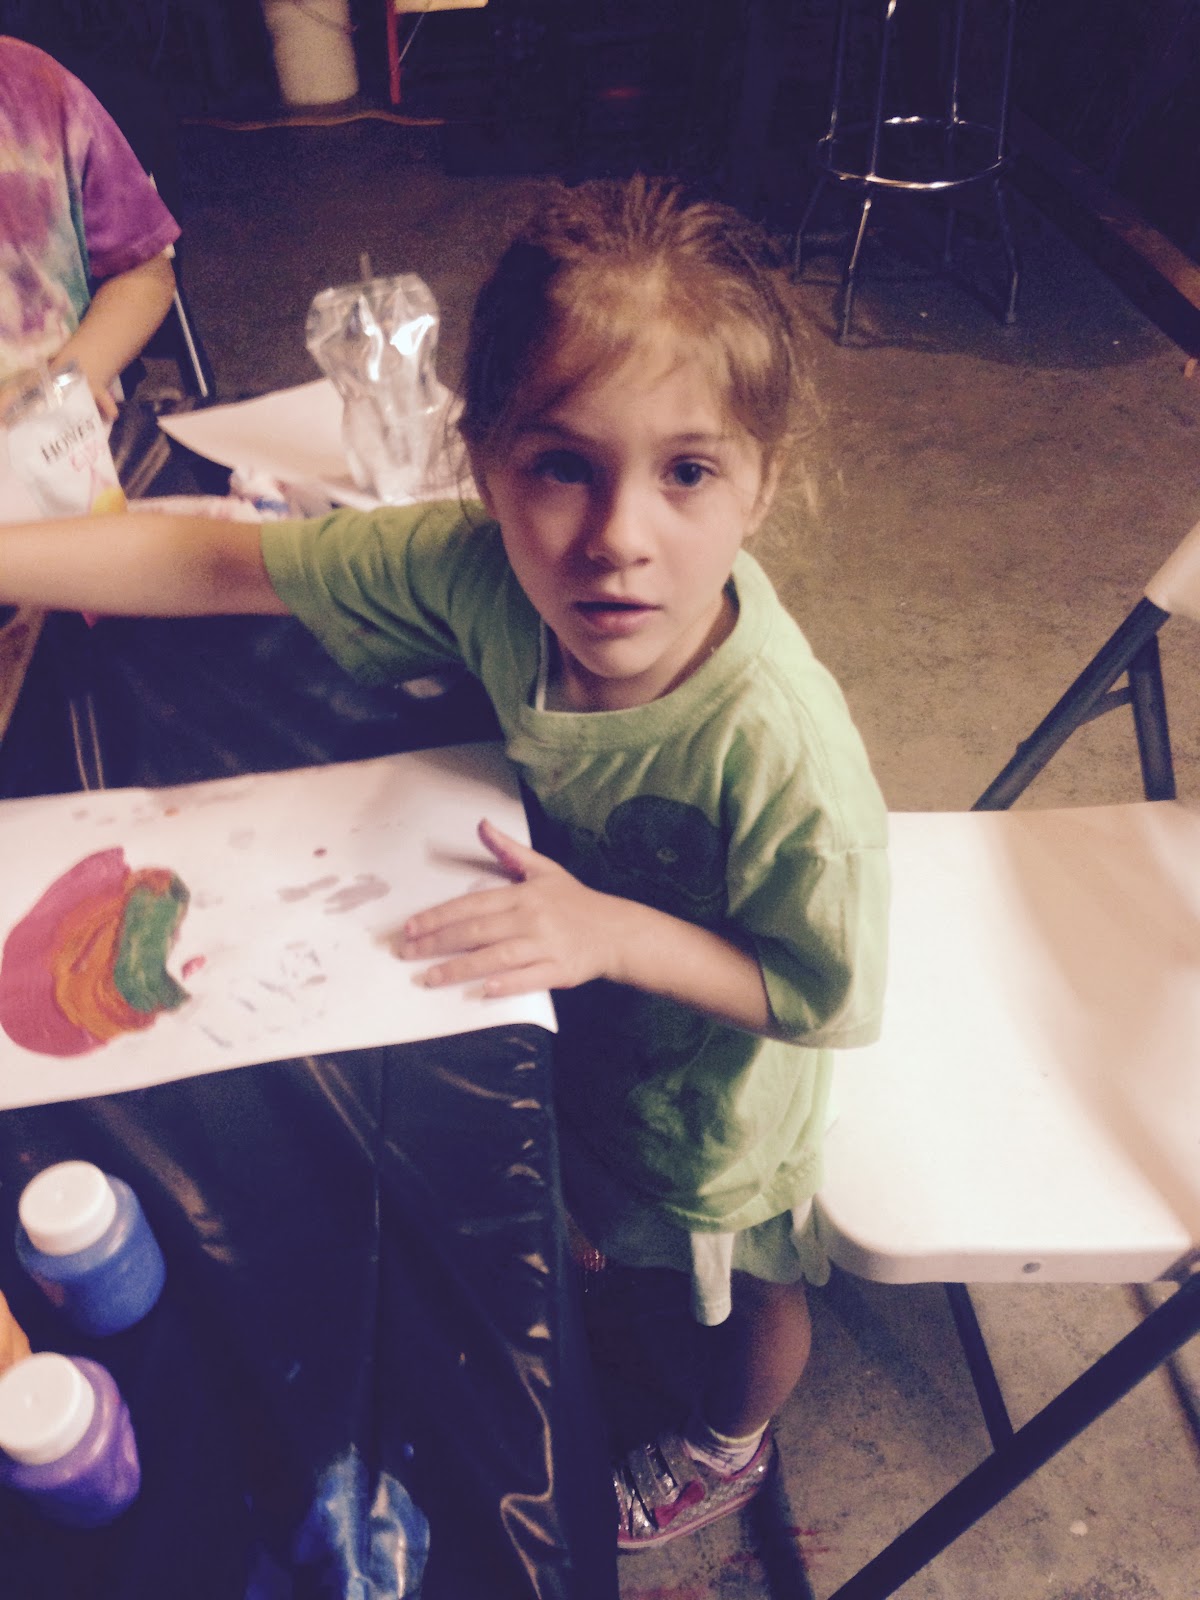
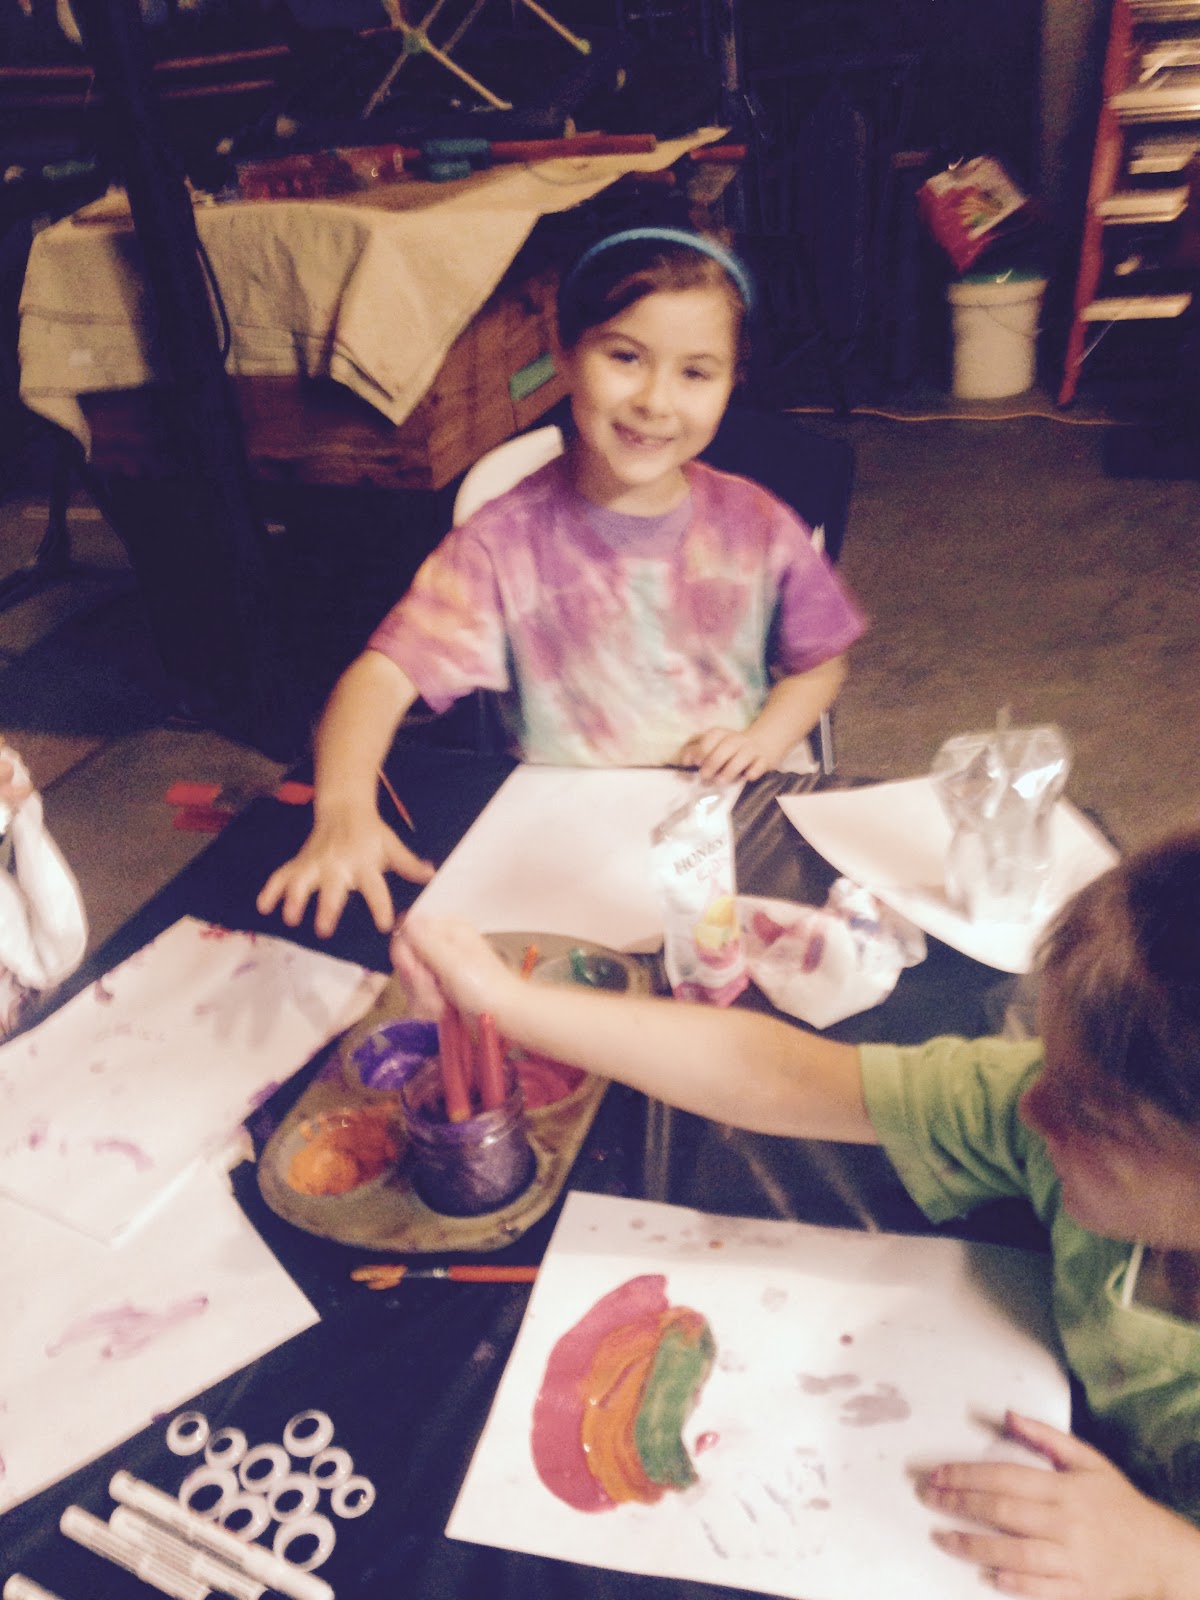
- While we let them dry, the kids painted wooden masks that Chace spotted at Michael’s while we were purchasing supplies.
- Once the first coat was dry, we did a touch-up coat to make sure the rocks were covered. I also let the kids add polka dots, stripes, or any design they wished to their monsters.
- While we let the final coat dry, we washed up and headed upstairs to watch Monster’s University and eat some lunch. It does not take long for the paint to dry, so there is no need to take a movie/length break; it just worked well with our daily routine.
- After lunch, we headed back downstairs. I let the kids choose and position their googly eyes, and then I hot glued them to the rocks.
- Once the eyes were in place, we used the paint pens to add the mouths and teeth.
Once we completed our rock monsters, we wanted to let the final touches dry. So, we moved right on to our next, less involved project--paper popsicles.
Paper Popsicles

Supplies
- Popsicle sticks. Any size will work. I didn’t have any on hand, so I got the larger, tongue depressor size.
- A variety of construction paper. I cut out the popsicle shapes for the kids, but kids could also do this themselves, depending on how well they use scissors. I used the scraps to cut out some basic hearts and triangles that they could glue on.
- Embellishments. I used markers, crayons, foam stickers, and paper cut-outs. This is a great project for using whatever random crafting supplies you have around.
- Glue, if necessary, for embellishments. You will also need glue to attach the popsicle sticks to the “popsicles.” I provided glue sticks for decorating purposes and used a hot glue gun for the sticks.
How We Did It:
- This project really only has two steps, decorating the popsicles and attaching them to the sticks. This can be done in either order, but I opted to have the kids decorate the popsicles first, so the construction paper could lay more flat on the table.
- As they finished decorating them, I attached the sticks using the hot glue gun.
- I then offered up Sharpies where they could write their names or any other message of their choosing on the sticks.
I even grabbed some wooden masks for $1.00 each to keep them busy for longer. All ages seemed to enjoy themselves!


No comments:
Post a Comment